
Looking to enhance the drama in your portraits? In my experience, split lighting is one of the most effective ways to boost the intensity of a portrait photo – and it’s an easy lighting pattern to set up, too, which makes it perfect for beginners.
In this article, I’ll explain what split lighting is, I’ll discuss when it works (and when it doesn’t), and I’ll offer step-by-step instructions for creating stunning portraits using the split lighting technique. By the time you’re done reading, you’ll be able to create a split lighting setup of your own, and you’ll be ready to capture beautiful and dramatic portrait shots.
Sound good? Let’s dive right in!
What is split lighting?
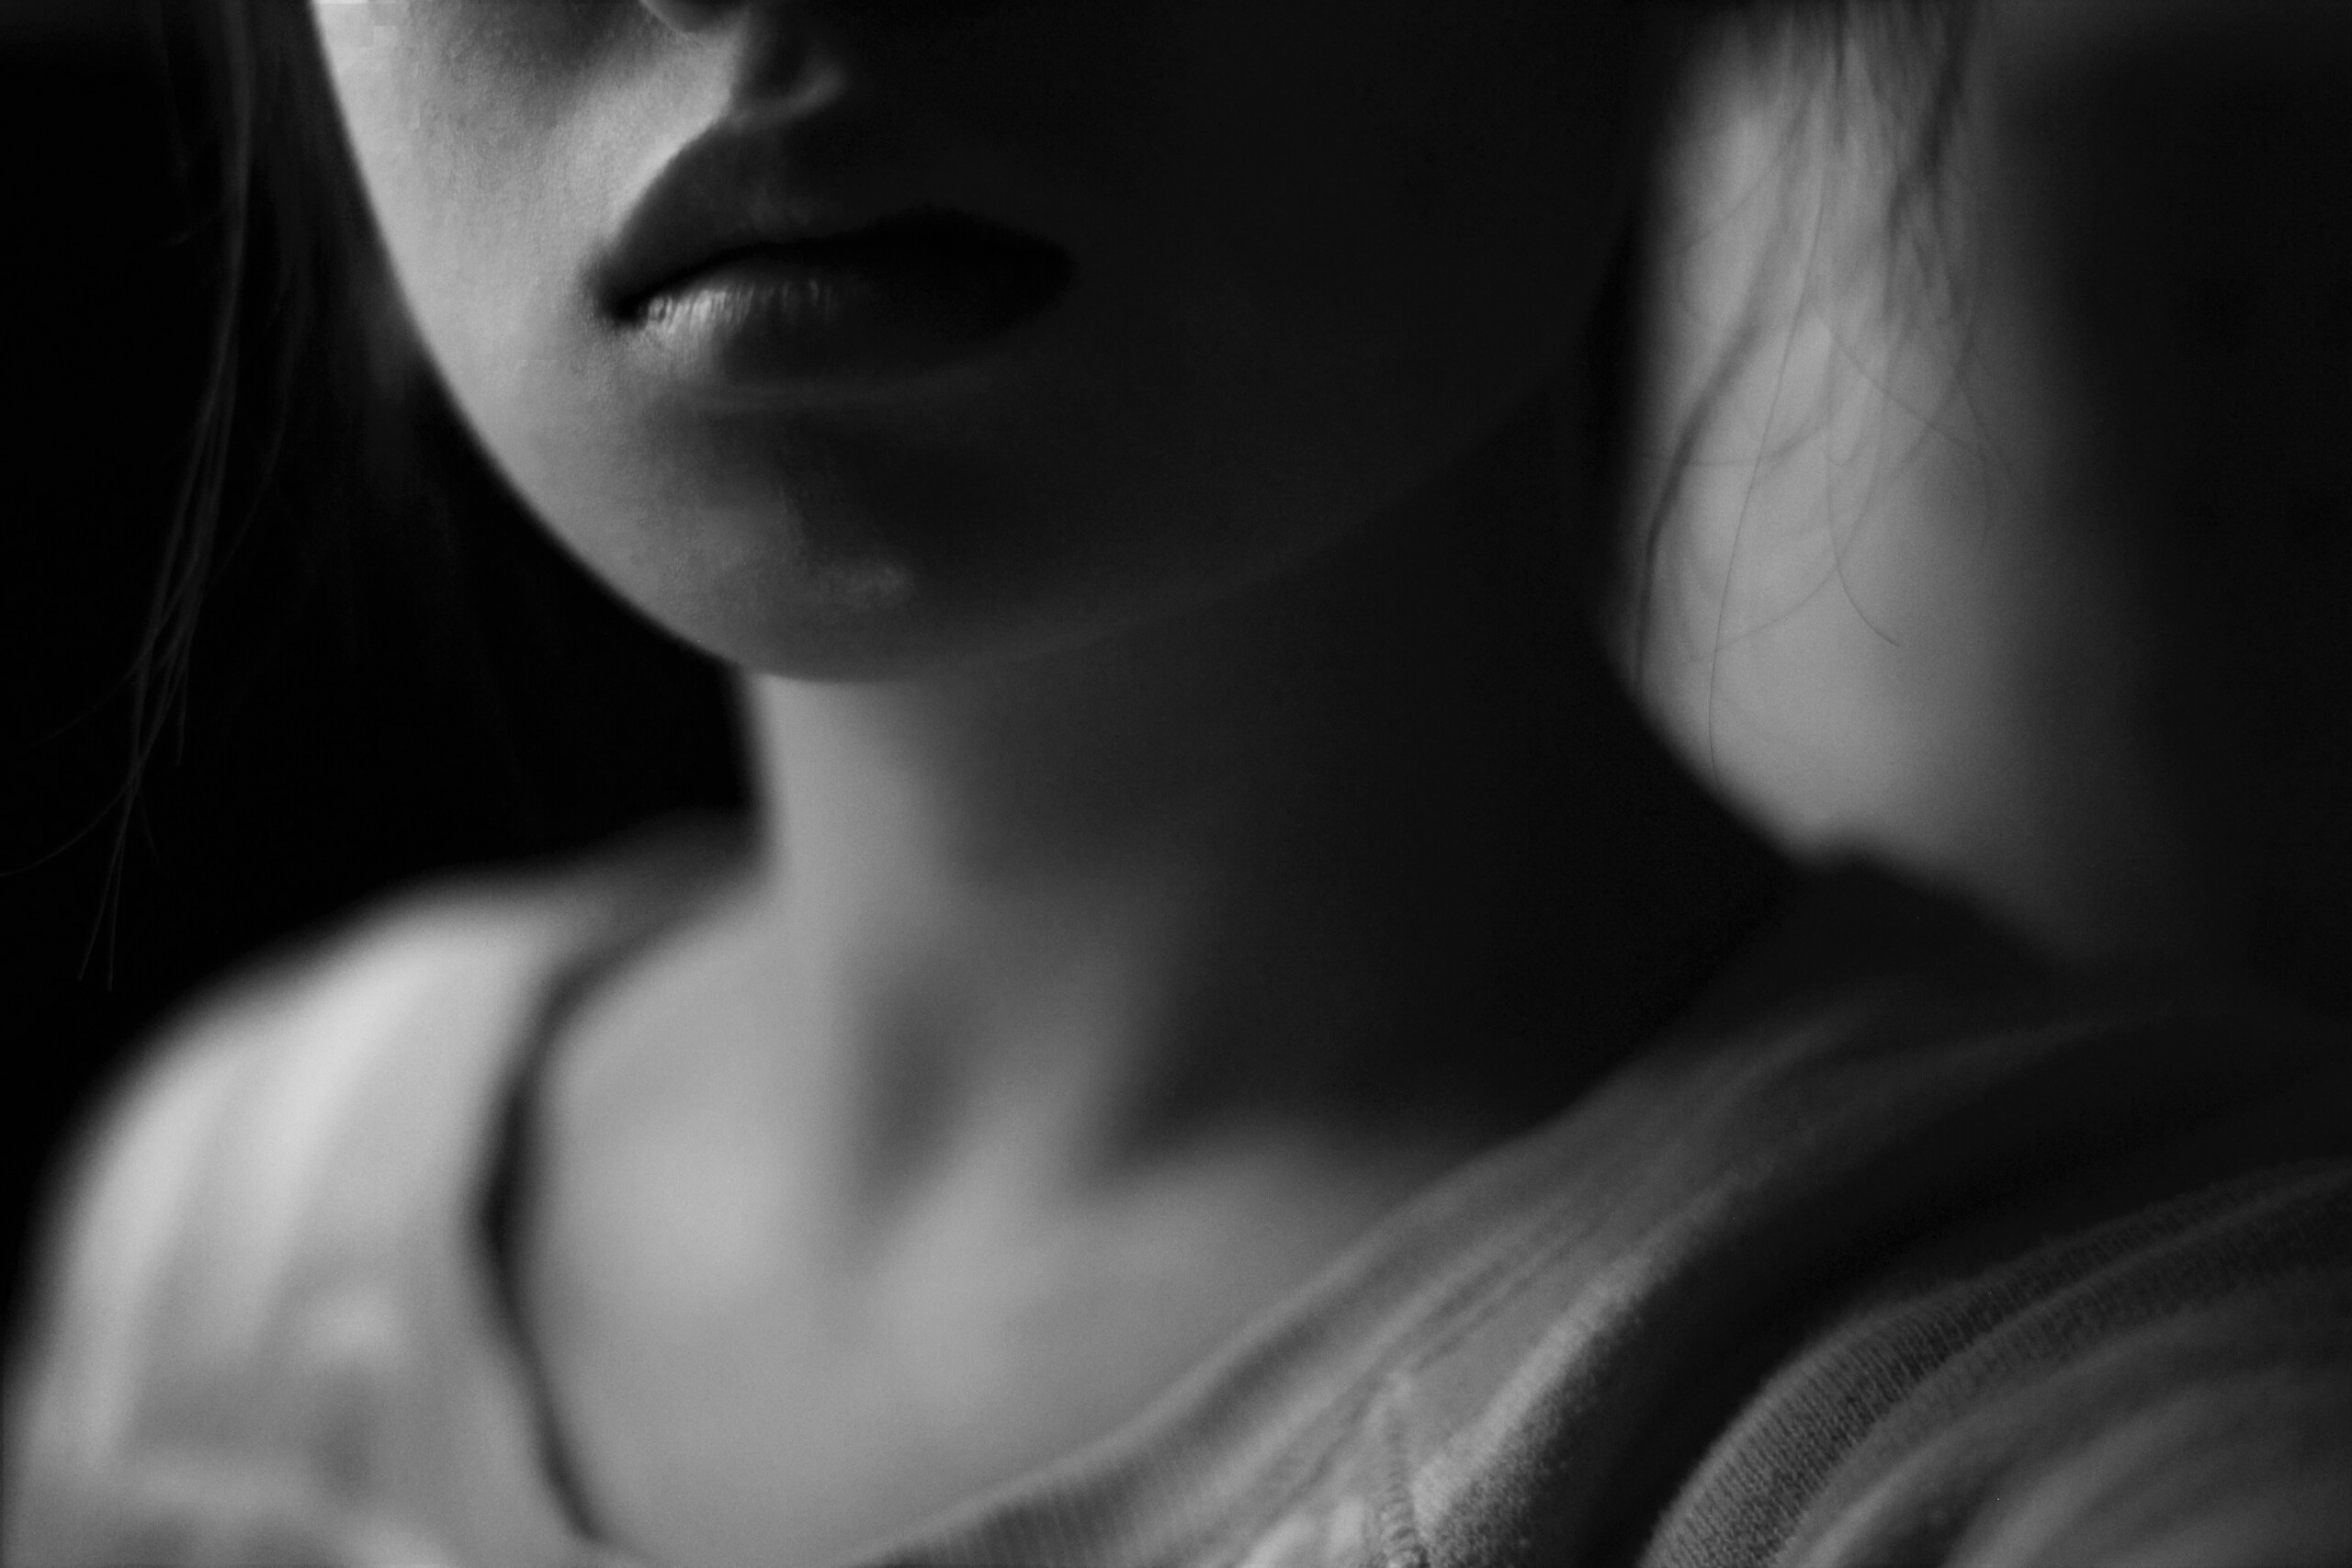
Split lighting is a simple portrait lighting pattern that illuminates half of the subject’s face while leaving the other half in shadow.

Often with split lighting, the shadow on the subject’s face is very deep with little-to-no detail in the darkest areas, which adds to the dramatic effect. However, like any photography technique, it’s not a hard and fast rule; you can always change the intensity of the shadows to suit your image.
For instance, you can experiment and adjust the depth of the shadow area with a reflector or second light. If you’re working with an artificial main light, you can also use it to balance with the ambient light and determine the level of contrast.
That said, split lighting typically is a high-contrast style. The main light is hard and bright, and ambient light has little or no effect on the exposure. That way, half the person’s face is hidden in deep shadow, adding a sense of mystery and intensity to the portrait:

When should you use split lighting?
Split lighting is a great way to evoke a sense of power or drama in a portrait. But to get the best results, you’ll need to match it with the person you’re photographing and with your photographic intent.
For instance, if you’re capturing a tough-looking guy who wants to project a dramatic image, split lighting works well. The high-contrast effect implies power, strength, and resolve. You can also adjust the subject’s pose to elevate the portrait’s intensity; if you position the man so he’s staring into your lens, you’ll enhance the emotional feeling that split lighting brings to the shot.
Split lighting can add plenty of drama to portraits of women, and you can also use split lighting to create a sense of mystery. Just remember that your subject’s pose and the direction of their eyes can enhance (or neutralize) the mysterious effect.
Also, bear in mind that a hard light doesn’t just create a more defined shadow edge; it also emphasizes texture. When the light is directed at the subject from the side – as is the case in split lighting – skin blemishes and wrinkles will become more prominent. You can choose to make the most of this, or you can take steps to lower the intensity of the main light (e.g., you can add a diffuser).
Another key split lighting effect: It makes the subject’s face appear narrower. The intense shadow hiding half the face creates a slimming effect, so if your subject has a rounder face, the approach can be especially flattering.
How to do split lighting photography: step by step
If you’ve never tried to do split lighting before, don’t worry; it’s pretty straightforward. For one, you only need a single light source, so it’s easy to set up. And while there are a few other considerations – such as how to position the light in relation to the subject and camera, the ambient lighting, and the background – these aren’t too difficult.
Let’s take a look at my step-by-step approach for effective split lighting:
Step 1: Pick the right light source
Split lighting can be done with almost any form of light, but I recommend starting out with an LED panel. With a continuous light source, you see where the shadows fall on your subject’s face in real-time, and when the ambient light is low, you can also see the effect your main light has on the background and the subject’s surroundings.
Speedlights or studio strobes are good options, too (though you won’t be able to accurately preview the effects of the light in advance). Regardless, I do encourage you to work with artificial light, not ambient light; when you can control the position and output strength of your light source, you have far more flexibility.
If you do choose to work with a speedlight or strobe, you’ll need to take frequent test shots. That way, you can review the lighting on your camera LCD, make adjustments accordingly, and quickly hone in on the effect you’re after.

Step 2: Position your subject
Once you’ve chosen your light source, you’ll need to carefully position your subject in relation to the light and the background.
First of all, while I discuss the light position more in the next step, the goal is to illuminate half the subject’s face; you’ll want to ensure that the light hits the subject from the side, not the front. Direct your subject to stand so they’re in line with the light source but facing forward, so the light makes a 90-degree angle with their nose.
Note: If you’re using sunlight as your main light source, you’ll need to position your subject carefully to achieve the split lighting effect. Morning or evening light is best. When the sun is low in the sky, it’ll be easier to position your subject so the sunlight only illuminates half of their face. (In other words, if the sun comes from a high angle, it’s more challenging to create split lighting portraits.)
Want a clean, dark background? Then you’ll need your subject positioned so there’s not much light illuminating the background elements. In general, an effective technique is to move your subject away from any background subjects so that your main light source has very little spillover. On the other hand, if you like the look of the background and want it to appear in the scene, either position the subject near the background or light the background separately.
Step 3: Position your light
A portable light source makes split lighting much easier – you can position your subject, then quickly place the light. As I explained above, the light should be at a 90-degree angle to your subject’s nose. (This is also a 90-degree angle to your camera’s lens.) You should also place the light on a level with your subject’s face.
Remember: The lighting angle is key. If your light is slightly behind the subject, more than half of the face will be shrouded in shadow. And if your light is slightly in front of the subject, the far side of the face will be partially illuminated, ruining the split lighting effect. So aim to position the light at 90 degrees!
Step 4: Soften the light as required
If you want an intense split lighting effect, a bare, unmodified light will work best. With a strong, unmodified light, you can achieve especially dramatic photos that feature well-defined, deep shadows.
That said, split lighting doesn’t always need to be intensely dramatic. If you prefer a softer look, simply move the light closer to the subject or add a modifier. (A softbox or umbrella will significantly reduce the dramatic effect.) I encourage you to experiment with different levels of light hardness until you get the look you’re after.
Another way to manage the intensity of the shadows is by adding a second light or reflector. An additional light will reduce the contrast level and bring out detail in the shadow areas. It can also make skin texture and wrinkles less pronounced.
Step 5: Set your exposure
If you want to make the most of the split lighting effect, it’s important to carefully set your exposure. Take a light meter reading from the illuminated side of your subject’s face, and set your exposure so the area features plenty of detail. With the right contrast levels, your subject should have lots of depth.
Exposure is most important when you’re working with a hard, bright light source; with careful exposure, you can avoid blown-out highlights. Adjusting your aperture, shutter speed, and ISO to properly expose the illuminated portion of your subject’s face can also create intense shadows.
Note: If you’re using more than one light, or if the ambient light is affecting your exposure, your metering and exposure settings can be more flexible. You’ll need to take plenty of test shots to make sure you get the right results, however.

Step 6: Improve your image with post-processing
How you edit your portrait will majorly impact the results. With a few slider tweaks, you can intensify the contrast levels – or you can reduce the contrast and, consequently, the drama. So make sure you spend a little time with each split lighting portrait in your favorite editing program.
As you edit, keep in mind the feeling you’re hoping to produce. You have a great deal of control over how the lighting effects turn out in the final image, but getting your visualized result can take a lot of trial and error. Don’t be afraid to experiment!

Split lighting photography: final words
Split lighting is one of the easiest and most effective lighting setups for creating dramatic portraits. So use the step-by-step approach I’ve shared. Test out different split lighting strategies. And see what you can create!
The more you practice the split lighting technique, the better you’ll get!
What type of split lighting portraits do you plan to create? Share your thoughts (and photos) in the comments below!
