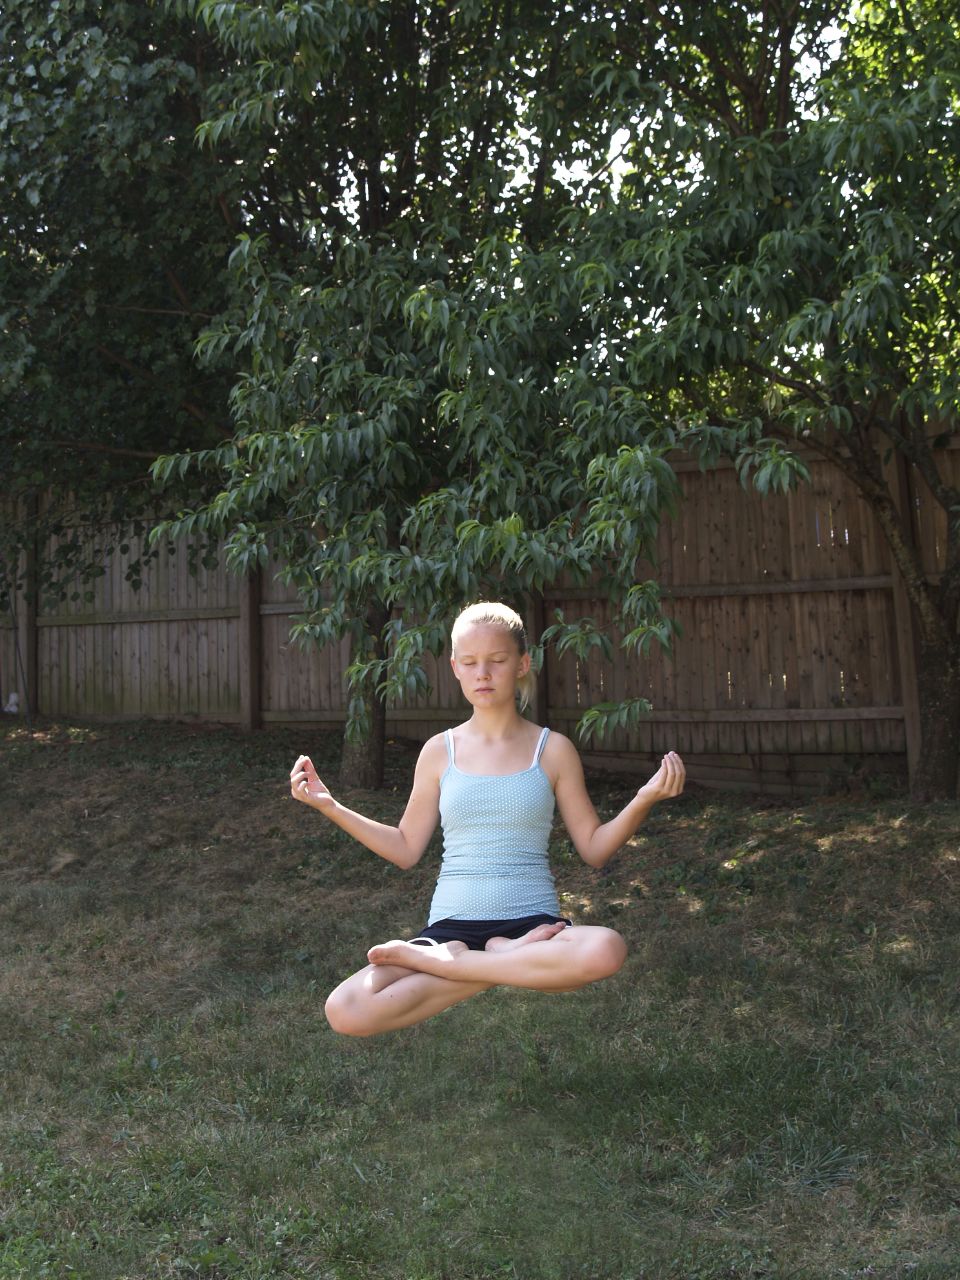
Here is a relatively easy Photoshop technique which, nonetheless, seems to amaze a lot of people when they see the results: making a subject float or fly.
For maximum effectiveness you really need a tripod. Start by setting the camera up on the tripod and shoot your subject sitting or laying on some kind of support.

After you get the shot, remove your subject and the support without moving the camera. Then, shoot the exact same scene again. (This second shot will capture the uninterrupted background.)

Open both photos in Photoshop at once. Select the entire photo with the subject (Ctrl+A) and copy it to the clipboard (Ctrl+C).
Switch to the photo with the plain background and paste in the photo with the subject (Ctrl+V). The pasted photo should end up on its own layer.
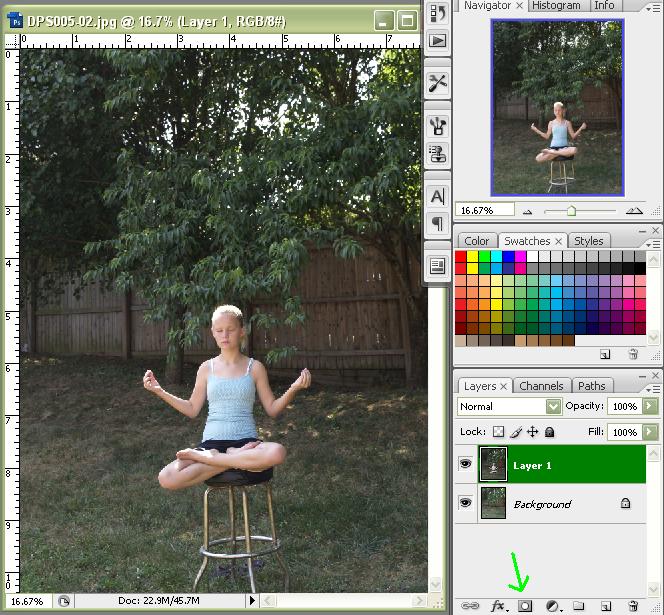
Convert this new layer with the subject to an adjustment layer by opening the layers palette and clicking the small icon at the bottom that looks like a square with a circle inside it. (The layer should be active when you do this.)
Select a brush and set the foreground color to black. Paint over the support and watch it disappear. You may need to zoom in and/or change brush sizes to get finer details. If the camera didn’t move between shots then the rest of the image should be fully registered (everything is aligned) so you really don’t have to worry about painting over anything but the support.
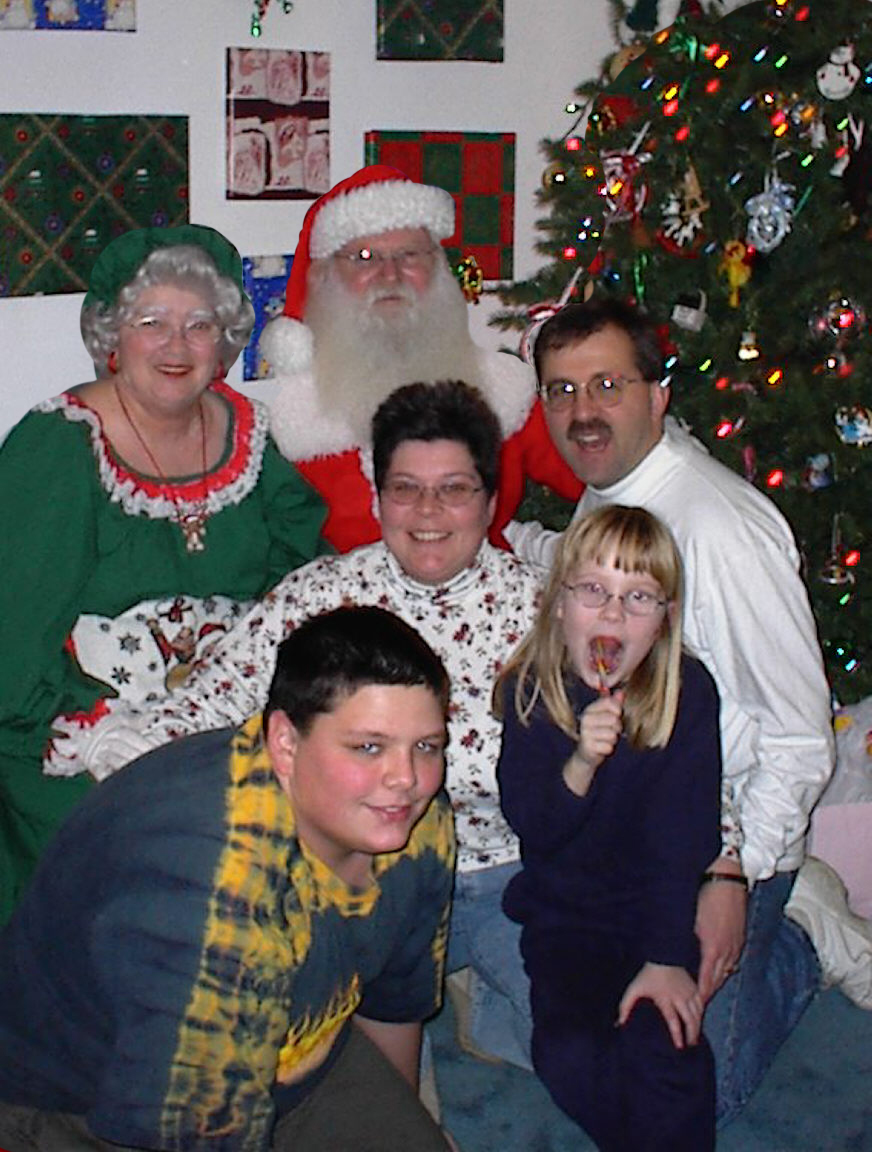
Putting this same technique to more practical use, I had this photo of my family which was taken at my daughter’s seventh birthday party. (Yes, it’s a low quality photo taken with a crappy camera but it has sentimental value and can’t be replaced.)

Its biggest compositional problem is that the person who took the photo got part of the door jamb and a light switch in the background. Sure, I could just clone them out but the background still leaves something to be desired.
Instead I had this shot, which I took of another family at the party and which had a much more satisfying background.
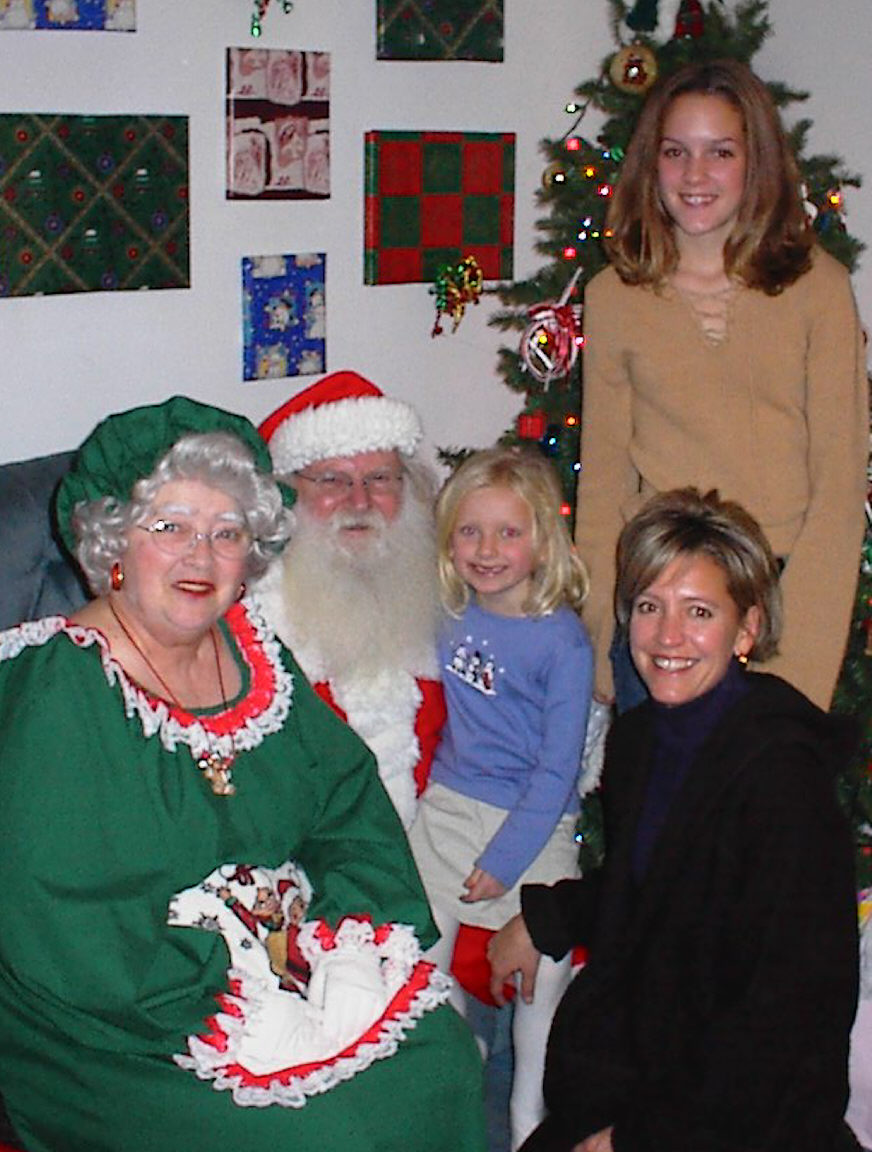
Since both had a similar composition, by following the above technique, I was able to clone the better background onto the shot of my own family.
One key difference with this pair of photos is that they were not perfectly registered. To overcome this problem, I simply reduced the opacity of the layer to 50%. That allowed me to see right through the layer to what would be exposed underneath if I painted over it. Once I was done painting, I bumped the opacity back up to 100% before flattening the image.
Jeffrey Kontur is the author of two how-to books on photography, which he promotes via his web site www.MoreSatisfyingPhotos.com


Some Older Comments