
One feature that I (along with a lot of other users) would like to see built into Lightroom is a calendar template. Unfortunately, there is not one available but thanks to Jerry Courvoisier of www.lightroomworkshops.com, for 2011 at least, you can download and create CD jewel case calendars for 2011.
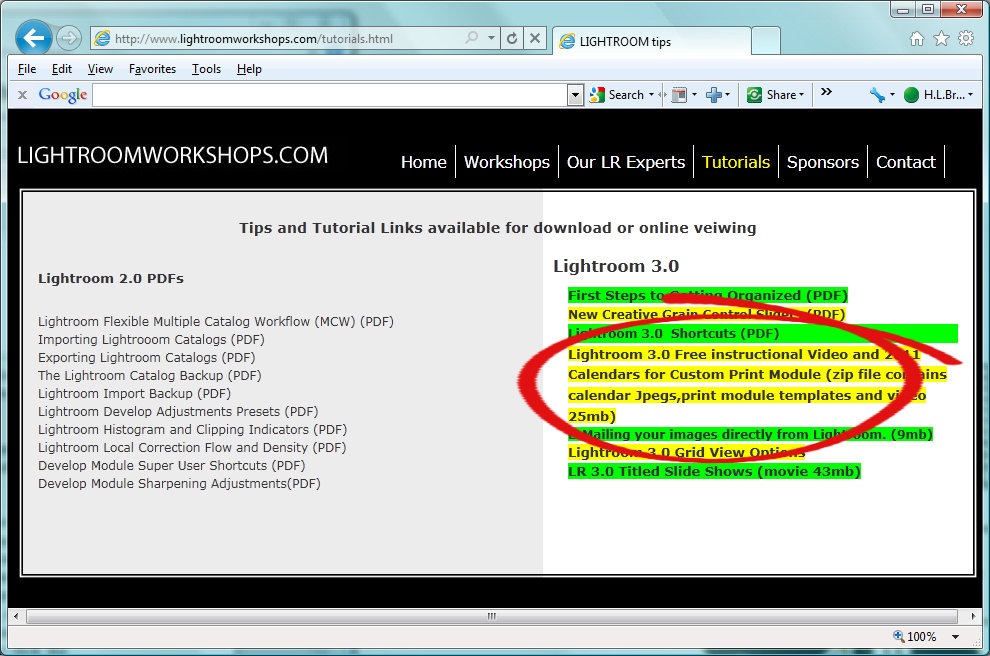
To get started visit http://www.lightroomworkshops.com/tutorials.html and download the large zip file which contains everything that you need. It’s called Calendars for Custom Print Module and it works with Lightroom 3 only.
The zip file contains not only the print presets for creating the calendar pages but also the calendar images and a movie that explains how to get everything working.
Once you’ve downloaded the file, unzip its contents and open up Lightroom.
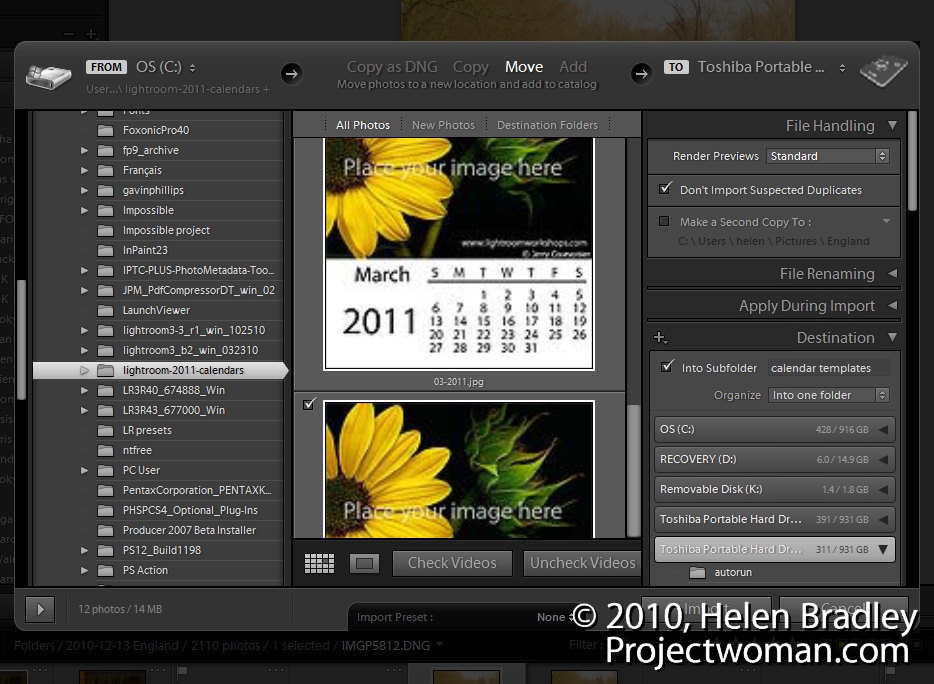
Start by importing the 12 jpeg calendar images into Lightroom. Choose File > Import Photos and browse to locate your downloads folder and the Lightroom 2011 Calendar subfolder that the files will have been unzipped into.
Select all twelve calendar pages, create a folder for them inside Lightroom and import them.
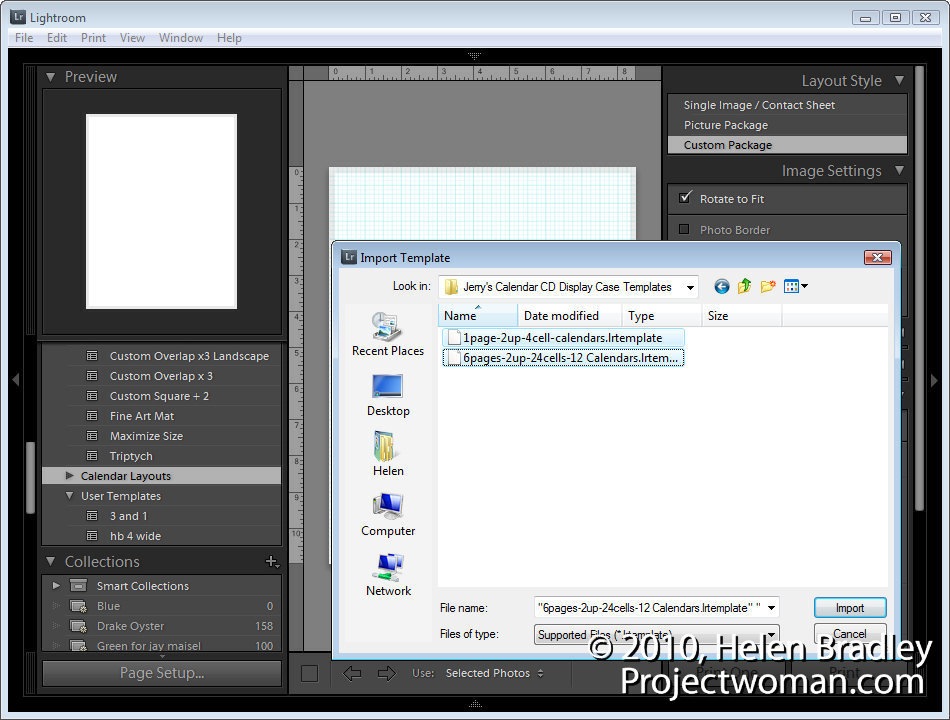
Open the Print module. Locate and open the Template Browser panel and right click the Lightroom Templates folder. Click New Folder and create a folder for the calendar page layouts – CD Calendar Layouts is a good name to use. Right click this folder, choose Import and go ahead and import the two .lrtemplate files from the package of unzipped files.
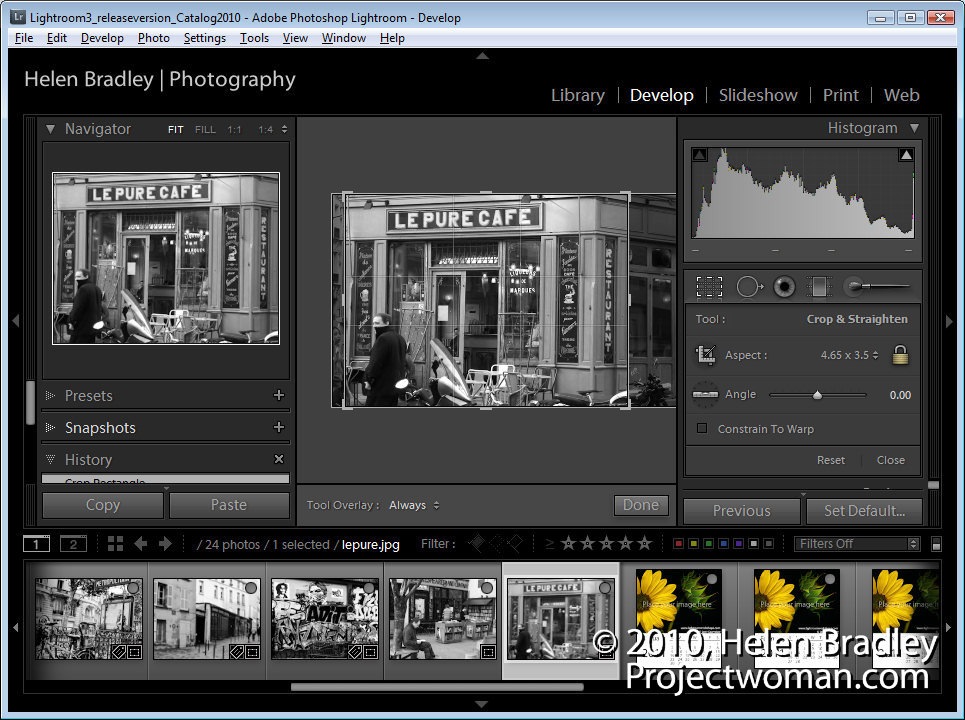
Switch to the Library module and create a new collection containing all the 12 calendar page images you just imported and 12 images to use for your calendar. Each image should be cropped using the Crop tool in the Develop Module tools to a size of 4.65 in wide by 3.5 in tall. (In his video Courvoisier suggests you crop to 4 x 3 but the actual cell sizes used are 4.65 x 3.5in). You can create a custom crop size to use.
With the collection selected, return to the Print module, click Page Setup and set the paper to Letter, Landscape orientation.
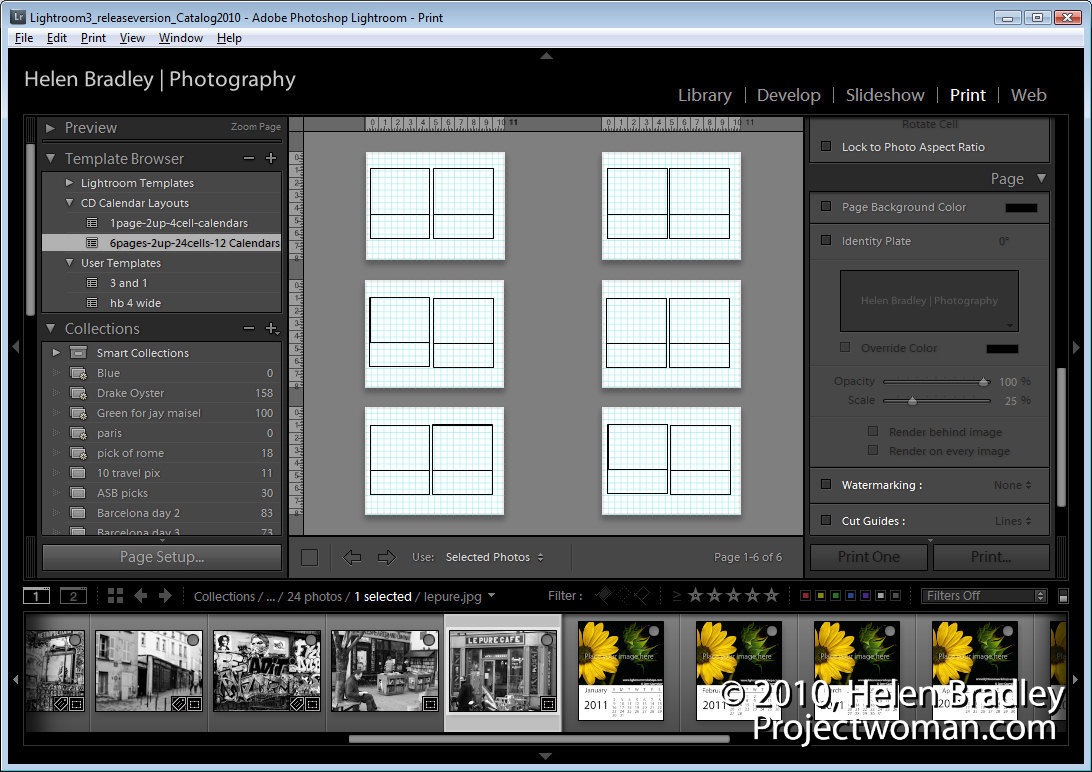
Select the 6pages-2up-24cells-12calendars template.

To create the pages, drag and drop one calendar page into each of the larger picture placeholders in the template. If the page doesn’t into the right box, select Edit > Undo and try again. You’ll need to have the calendar pages in position before placing the images into the pages.
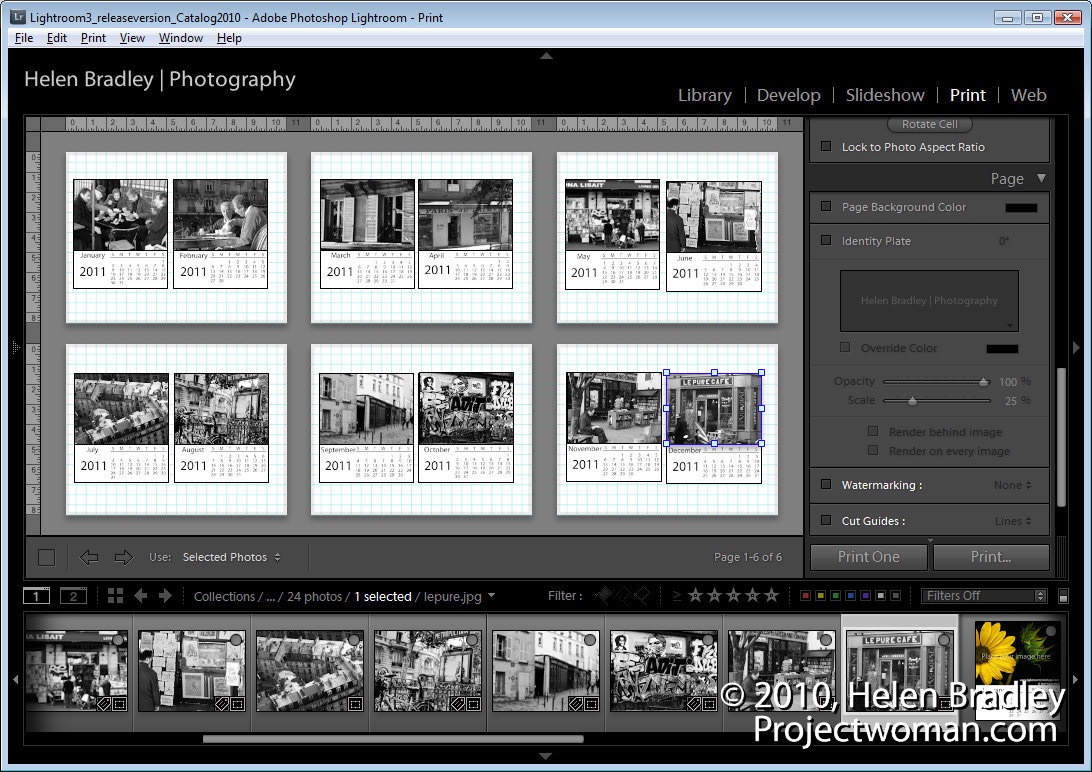
Now drag and drop the images into the smaller image placeholders for each calendar page.
Once you’ve assembled the pages it’s simply a case of printing them using the print options and them assemble the pages by trimming them to size and placing the images inside a CD case.
You can reverse engineer the project to create your own calendar pages at any size. To do this, you’ll need to create a calendar in a program such as Photoshop and save it as a high quality JPG image. This will become the basic calendar page and over the top of that you can insert your calendar image. For a one month to a page you’ll need 12 calendar pages or you can create a full year calendar on a page with space for an image. Better still, if you have access to a program that will create the calendars for you and that lets you save the pages as jpeg or png images – use that. Microsoft Publisher is one such program that would work.


Some Older Comments