 I was first approached by the folks at Trek-Tech, a local Pacific Northwest company, when I started my People, Places & Patterns Project. I was interested in sponsors but I’m very picky about who and what I endorse. I’m not going to tout product X as being great if I’d never use it or if it in fact stinks. So I asked them to ship me a product to test on my trips to Africa and Nepal, stating that I’d be happy to send back the test units as I normally do.
What Arrived
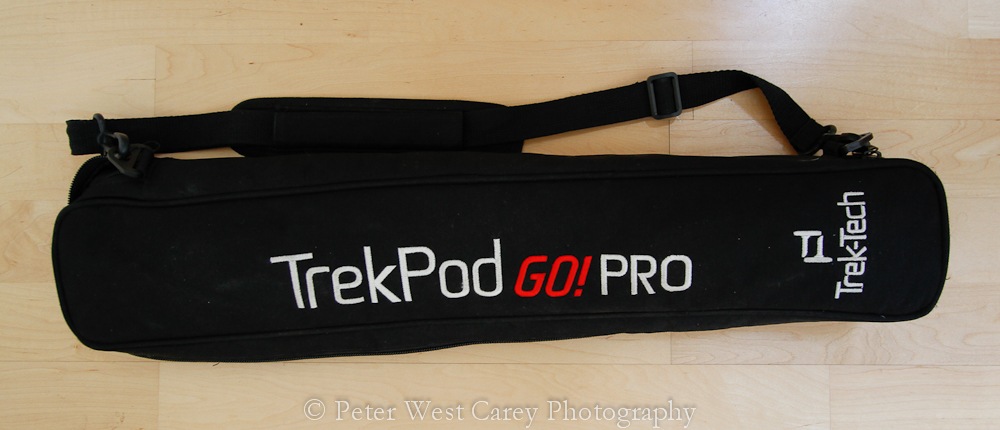
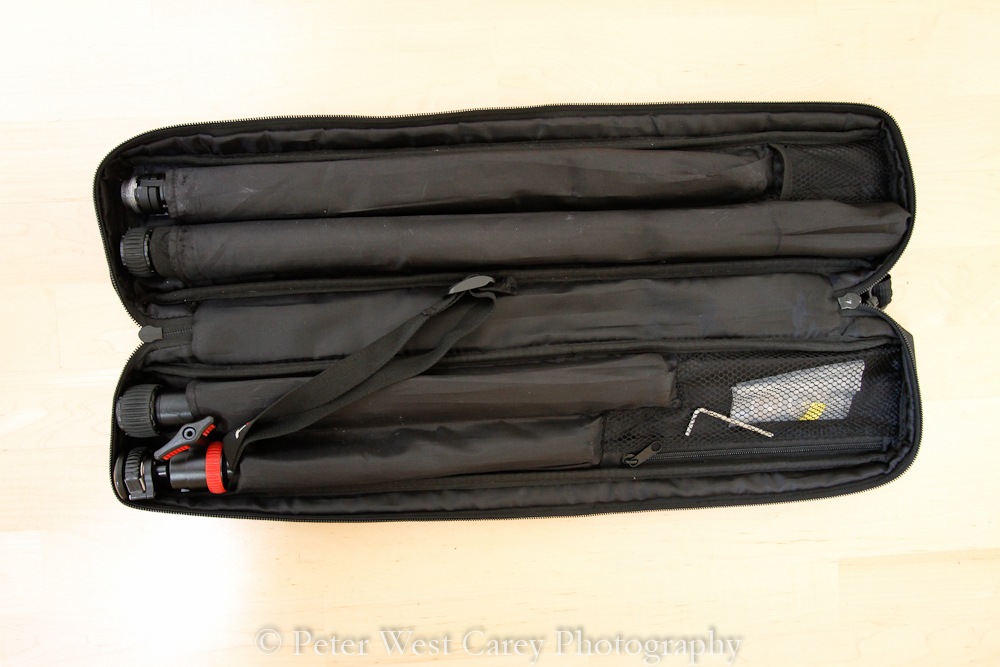
The unit they sent me was built specifically for travel. It’s known as the TrekPod GO! Pro and is designed to be broken down to a package that fits in carry-on luggage for most flights (22” or less in length). The case is a zippered enclosure with holders for all four of the sections, as well as the mounting bolts and optional accessories. It also has a handy shoulder strap and is generally a no frills setup. I prefer to travel with no checked baggage so all my bags are sized to fit in overhead compartments and the Go! Pro did in fact fit in my standard issue Eagle Creek bag, even though the website lists the bag as 23”x 4”x2.5” (58.4 x 10.2 x 6.3 cm). A bit of squishing or laying it diagonal in baggage makes it all work.
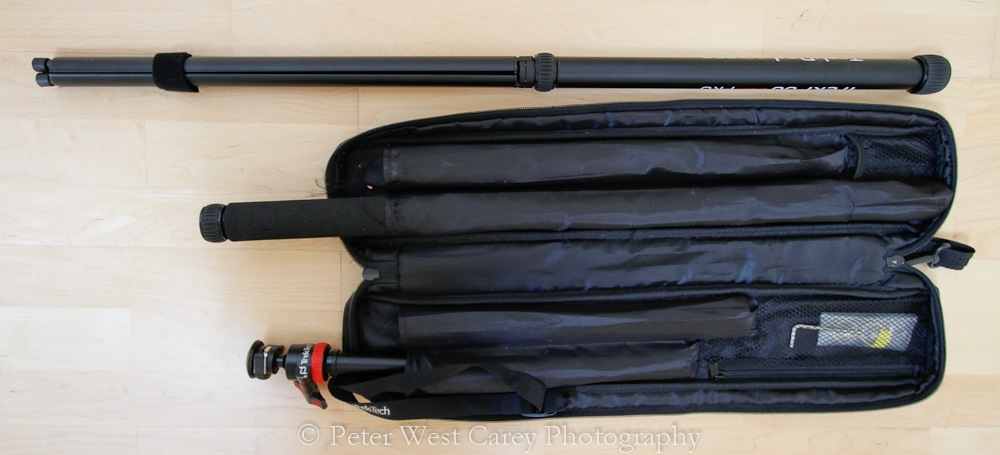
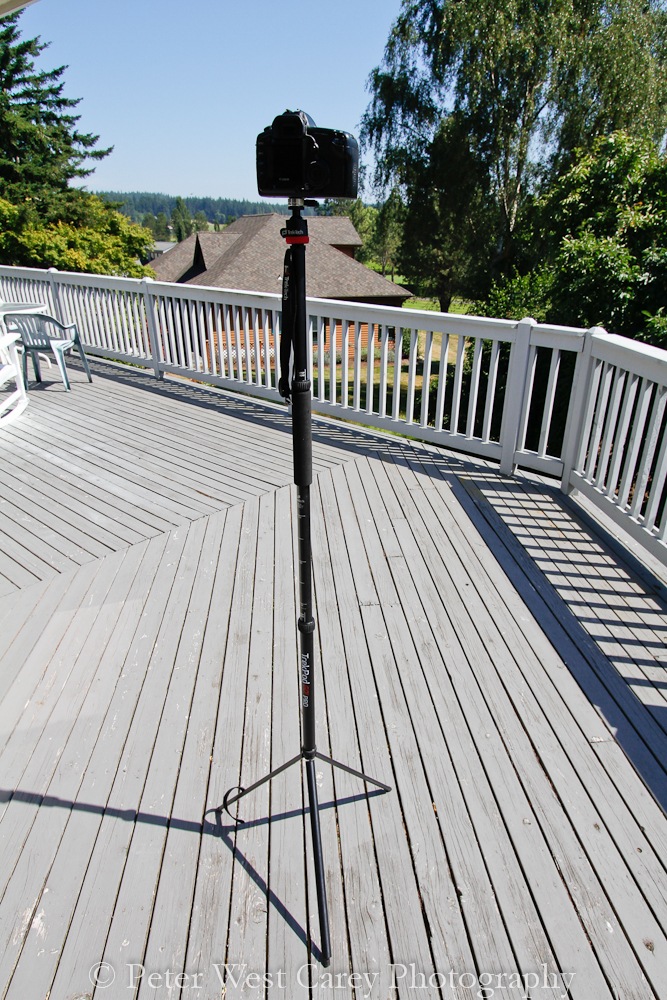
When fully assembled, the GO! Pro is a hiking stick complete with cushioned grip and telescoping sections to obtain a useful height (hiking mode is adjustable from 42.5″ to 62.5″ or 106.7 cm to 158.8 cm). There is a wrist strap to make things more comfortable while trekking. The lowest section is held together with a velcro strap which can be released to deploy the tripod legs. While this unit can never be considered a full tripod, it can get into places a full sized tripod can not. When open, the legs take up a diameter of just 22” (56cm).
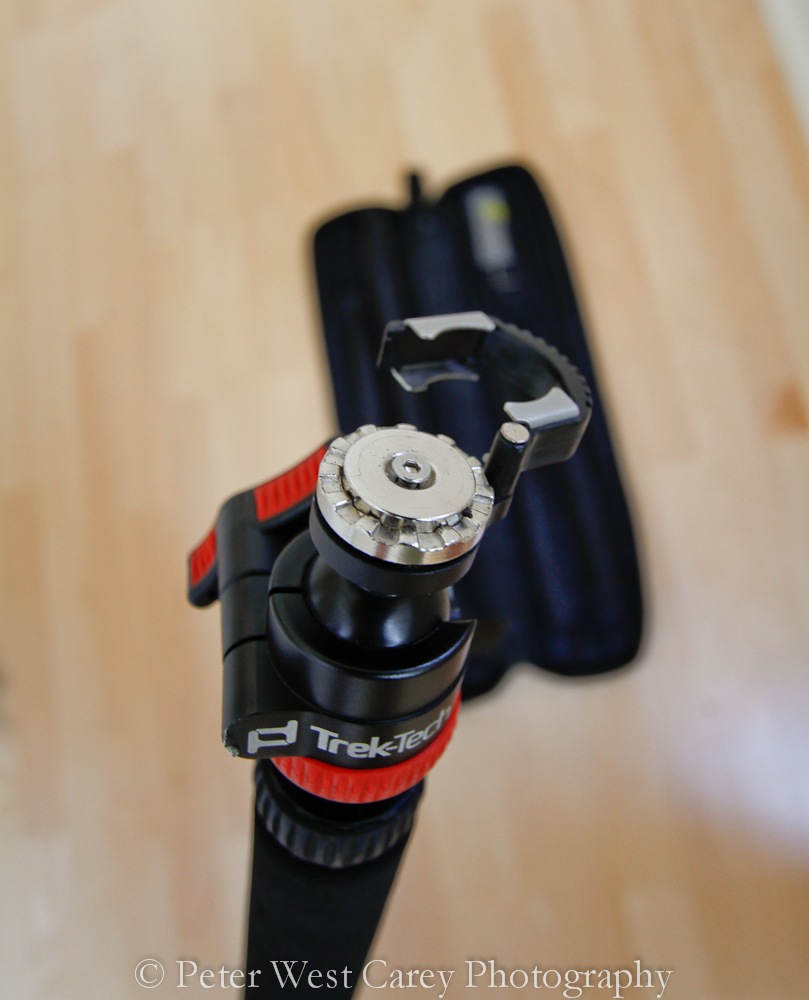
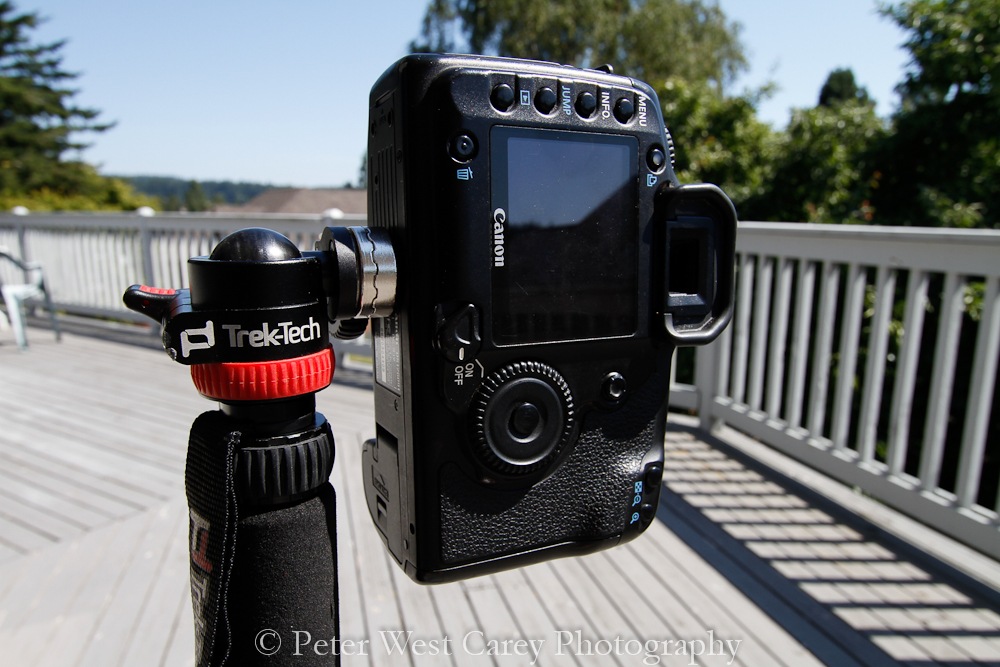
The head of the GO! Pro can be used a couple of ways. At its most simple, the head is a 1/4” mounting screw that will work in most any DSLR or point and shoot camera. But the GO! Pro also comes with a compact ball head which screws onto that screw. The ball head has one tightening knob for easy use and is slotted on one side to enable portrait orientated photos. On top of the ball head is the unique, magnetic MagMount and a ‘keeper’ clamp. I’ll explain how these work in the next section.
How It Works
The first thing that has to be done is attaching a MagMount Adapter to your camera. As the name implies, these adapters attach to the MagMount with Rare Earth Neodymium magnets. An hex wrench is supplied to make attaching the adapters to your camera easy. There is a “light-force” adapter and “heavy-force” adapter. The heavy-force adapter has teeth that match those on the MagMount giving it a more secure connection, but also making it harder to remove if you have a light camera (otherwise removal is as simple as tilting a camera sideways when the securing clamp is off). In my case it was handy to have two adapters as I have a P&S camera and a larger DSLR.
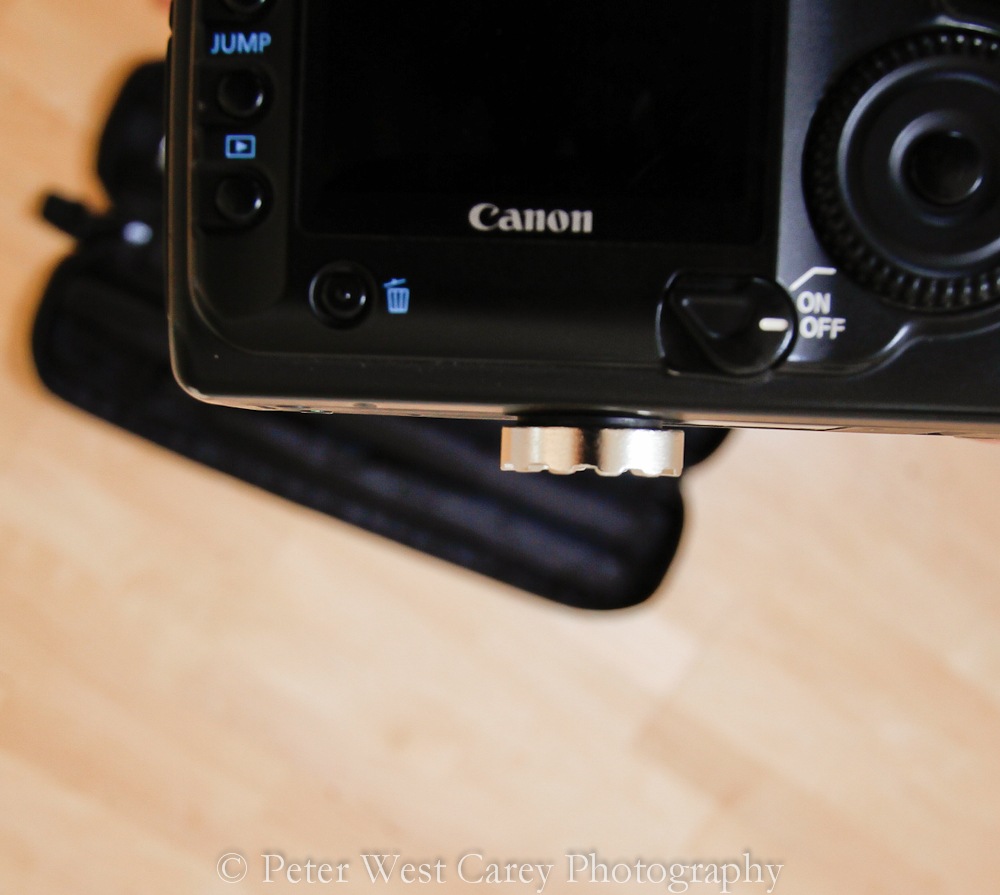
With the adapter attached to a camera, you simply line up and ‘click’ on goes the camera. Depending on weight, the magnet itself will hold your camera in place (as shown in the second photo below), but I’d never suggest doing this (it is reassuring to play around with it for a while and realize just how strong the MagMount truly is). The unit has a swinging clamp that attaches firmly around the lower MagMount and upper adapter for a no-slip grip.
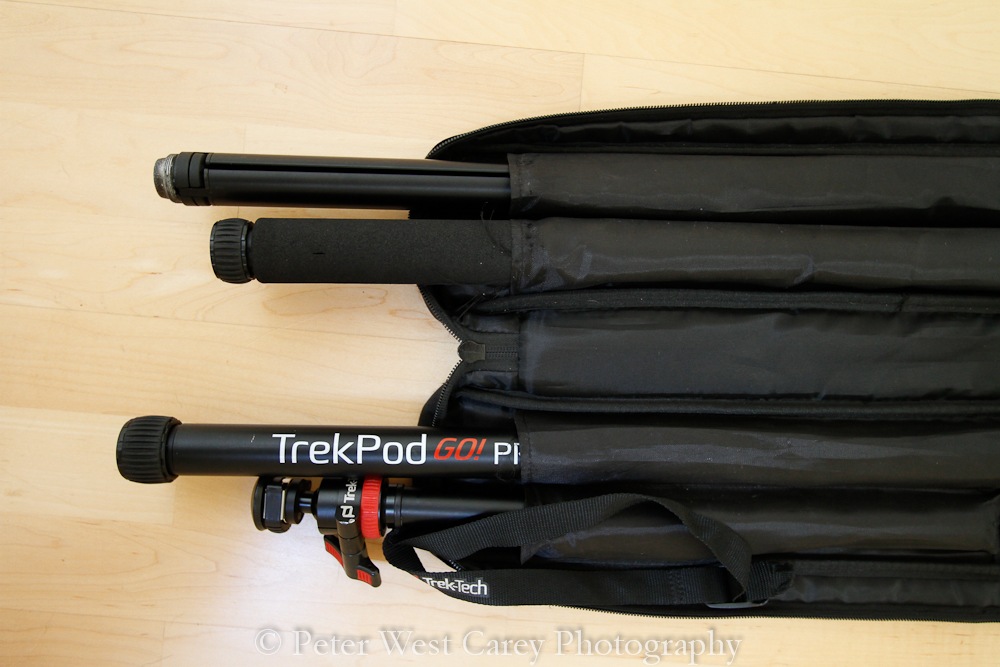
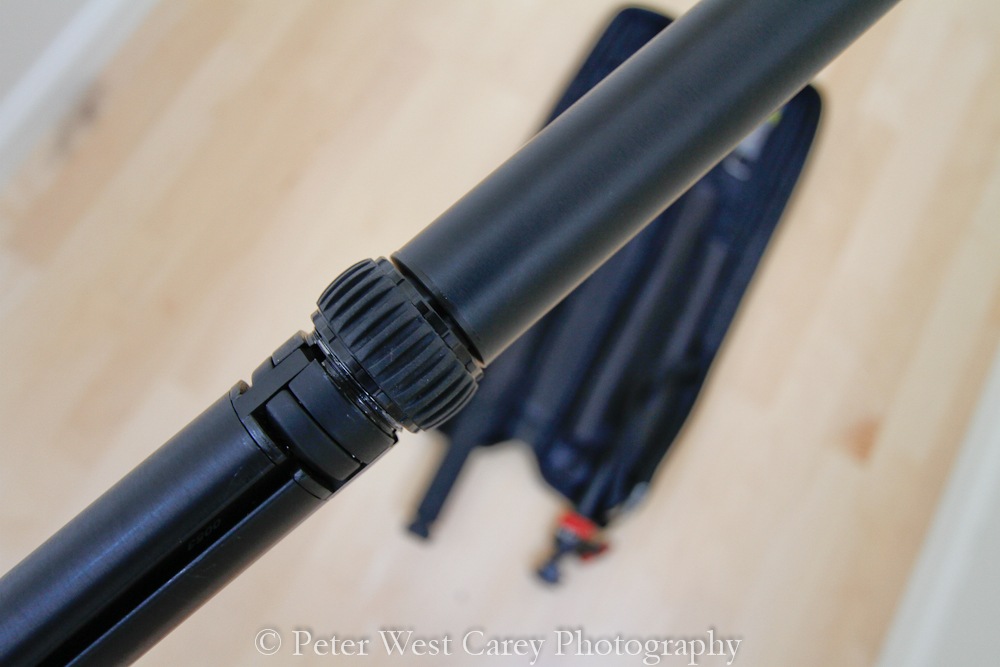
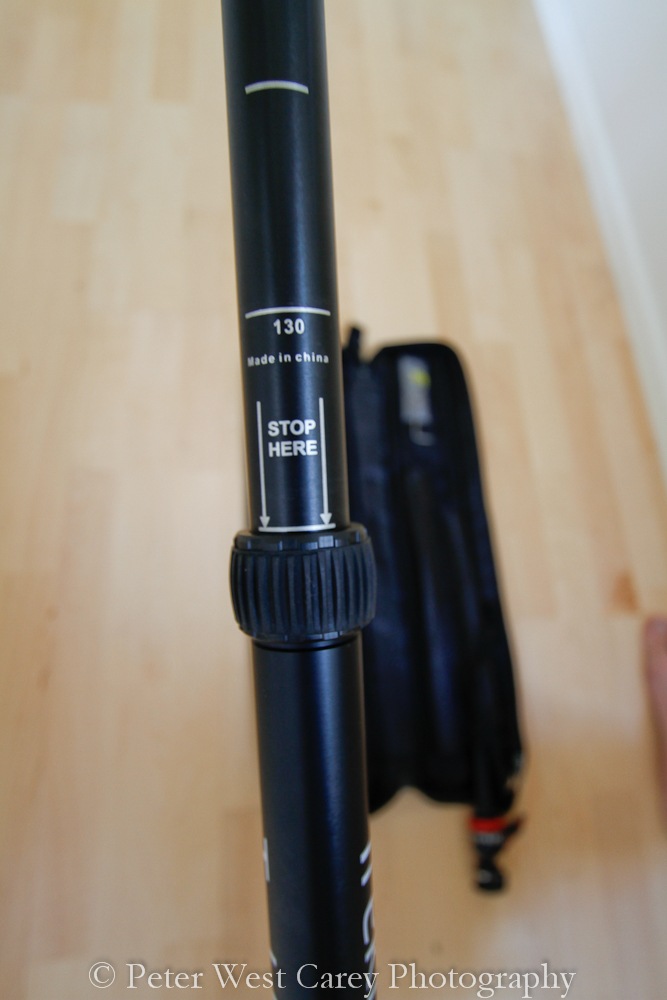
The leg sections of the GO! Pro either slide into each other or screw together. It is this last bit, the lower sections that screw together, that ended up giving me a spot of trouble I’ll explain in the next section. The middle tub is marked every 5 centimeters to make setup to your preferred height simple. There is also a “Stop Here” marking to make sure the tubes aren’t over extended.
Lastly, Trek-Tech supplies a methodology for determining how much camera the unit can hold. Take a look at the instructions on their site for more info.
How It Performed
 First of all, let me tell you I broke the unit after a month in Africa, a month in Nepal and a couple weeks in the Washington Cascades. But it took a lot of harsh treatment to get to that point. The problem was with the lowest connection, between the tripod leg section and the main tube. Trek-Tech admits this is the weakest link in the system and has been working on engineering it differently (they make another unit that does not have this section, but it won’t break down to carry-on size). In short, I stripped the threads of that connection from too much lateral force, after about 150 miles of trekking on uneven ground. I was downright mean to the unit and honestly wanted to find its limits. Trek-Tech lists the unit as being able to handle 200lbs of hiker and while that’s not me, I learned that sideways force will lessen its life.
Thankfully the folks at Trek-Tech back the product with a limited lifetime warranty. I called them up and soon I had replacement parts arriving at my door. What’s even better, the replacement parts were an improvement over the old parts. I called and ask about this and indeed they added an extra rotation to that junction’s threads (giving it a tighter fit) and were able to make the grooves just a bit deeper, which should help in stopping further stripping. I’ve only had the replacement parts for a couple of weeks, but the unit is sturdier with these improvements.
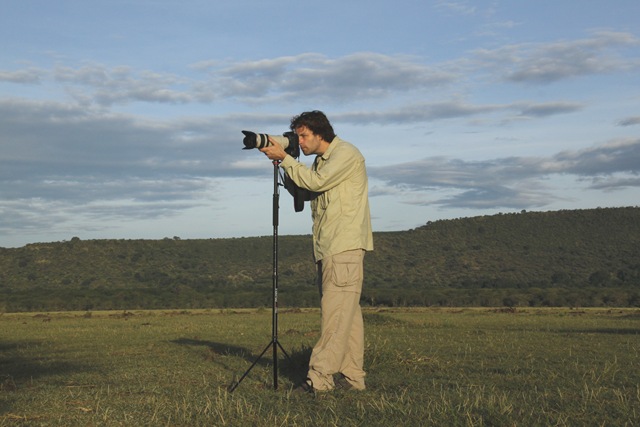
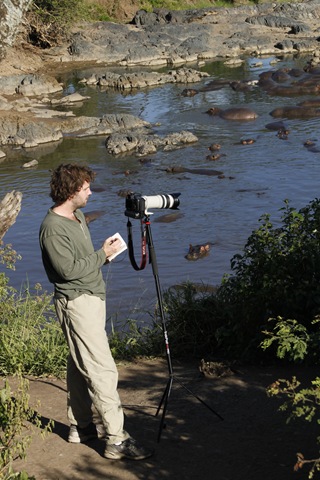 Otherwise, the unit is a breeze to use. After a while I got efficient at putting it together in under 30 seconds. It’s simple enough that my daughter now asks if she can put it together for me and I’ll time her. And the use of the ball head couldn’t be much easier with such a small footprint (meaning some slide on quick release mounts work wonderfully, but have a large plate on your camera). The unit holds my Canon 7D with power grip and 28-300mm L lens, a setup that weighs about 7lbs all in all. I got accustomed to the tipping point and after that, I was comfortable leaving the tripod standing without a hand on it. But believe me, it took some cautious moments of purposefully tipping the tripod back and forth to get comfortable.
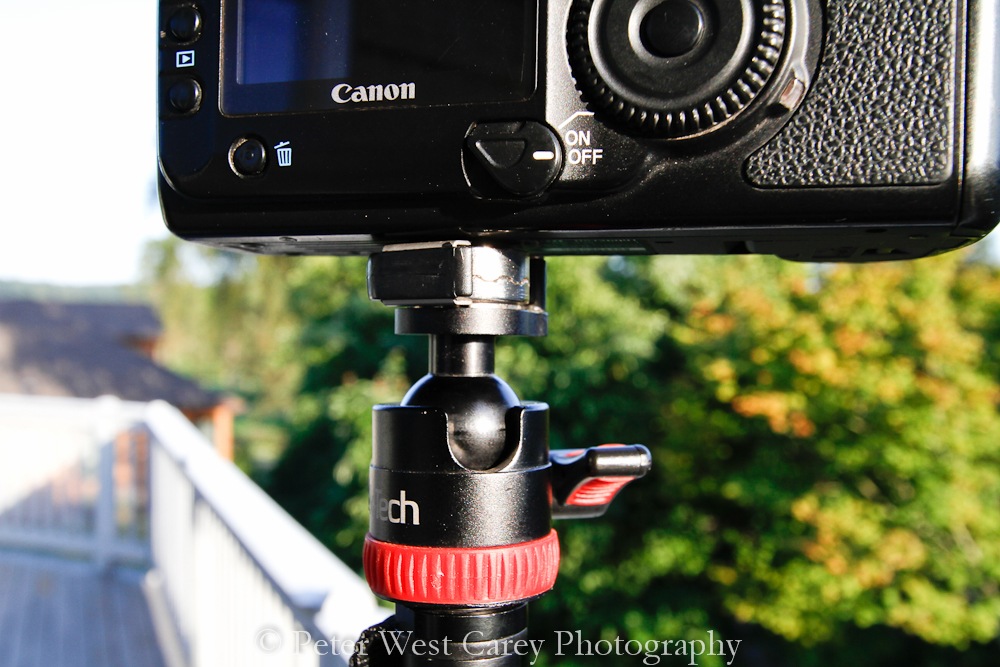
When fully extended in tripod mode the camera is just below my eye and I’m 6’1” (185cm). It’s comfortable to shoot from this height but someone taller might not enjoy it as much. Anyone shorter than that can easily adjust the height to their liking. The bonus being, the lower the camera drops, the more sturdy the unit becomes. Trek-Tek also suggests placing a bag or other weighted item over a leg or two to help stabilize things.
Also, when fully extended the unit can sway a minor amount when left alone. This matters most on long shutter shots. It’s important to get the unit to stop moving before releasing the shutter. As you can see from the pictures, that long stem means it’ll have some movement. But you can account for it.
The MagMount adapter is small, which is a plus compared to some quick release adapters. But its size can also be a hindrance. As you can see from the photos, the adapter is just a nub on the bottom of the camera’s smooth surface. It can make it a bit lopsided when you set it down.
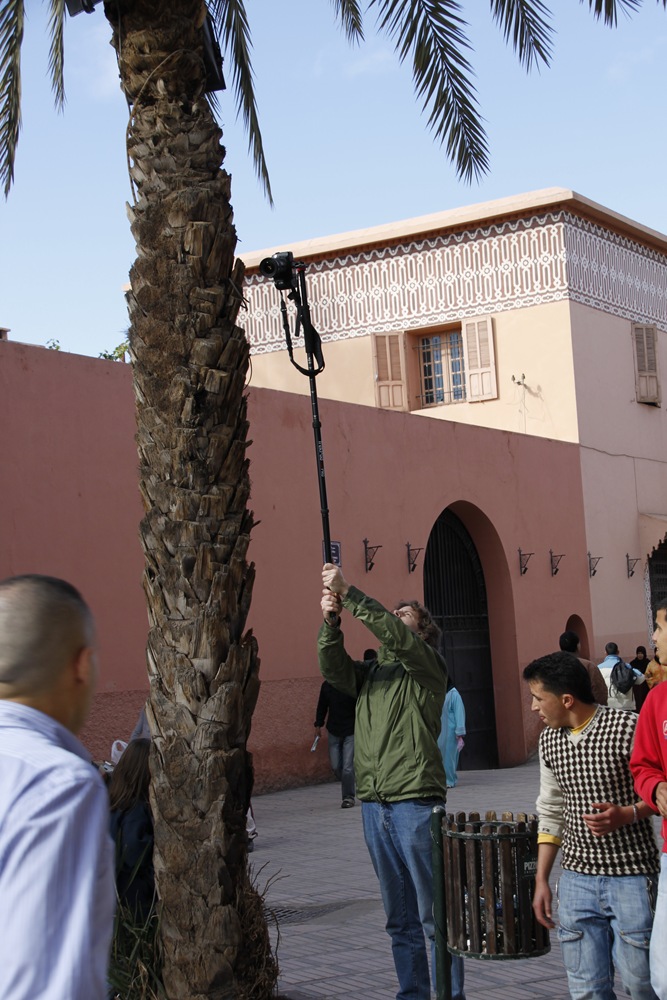 Lastly, it works great as a monopod especially in quick action instances. Slinging a camera up from being at your side to fully mounted and locked is a smooth process with practice. Which is nice because the unit will not require you to walk around with the camera always attached as some monopods will (although you can do this if you choose).
What The GO! Pro Is Not
While the Go! Pro is a wonderful device, it does have some limitations, it’s not everything to everyone. First, it’s heavy for a trekking pole. I’m not talking about a walking stick, which it’s perfect for, but if you’re thinking you’ll replace a lightweight trekking pole for a long trek, think again. I made this mistake in Nepal and ended up carrying the unit most of the time rather than use it as a trekking pole in the higher elevations (it was great when we were on trails, but when the trails stopped and the air got thin, I switched back to my lightweight trekking poles).
Next, it’s not a full size tripod. Don’t expect it to do what a heavier unit can do. While the GO! Pro is a great compromise and much easier to travel with, it’s not the same as a full sized unit. If your travels include a lot of hiking or trekking, it is far more useful than lugging a tripod on your back. But if that’s not your normal method of operation, then this unit might not be a good fit for you.
It can be used as an imitation Lightsaber, though.
Conclusion
After testing the unit in various situations and types of terrain, I’m very happy with it, even though it broke. Knowing its weak point and accepting it as a limitation of this type of design works for me but might not work for you. Plus I’m happy with the improvement Trek-Tech made to the unit in the last six months. I plan to use the GO! Pro on many more hikes and travels. It fills a nice niche for me between no tripod and beefy tripod.
And now the disclaimer you might be expecting, after hearing I liked the tripod. After testing and breaking the unit (then getting it fixed) I’ve taken on Trek-Tech as a non-cash sponsor of my project. I based this decision on the product’s usefulness to me and the quality of the personnel at Trek-Tech. As with any of my posts on DPS, I attempted to be completely honest and forthright in my experience with the test unit.
Lastly, Trek-Tech is also offering a 25% off coupon to DPS readers towards the purchase of any of their products through this link. The discount is applied at checkout.
Disclaimer: The author was provided with a complimentary tripod for the purpose of this review.
Summary
Reviewer
Peter West Carey
Review Date
Reviewed Item
Trek-Tech TrekPod GO! Pro Tripod
Author Rating


![Trek-Tech TrekPod GO! Pro Tripod [REVIEW]](https://i0.wp.com/digital-photography-school.com/wp-content/uploads/2010/07/WindowsLiveWriter7dda6fd220b2_10AB9100721-150719-7082_2.jpg?w=600&h=1260&ssl=1)

Some Older Comments