Lightroom 3 has a pretty clever sharpening system. Isn’t it funny how when you look at a shot, you think it looks pretty great until you get some sharpening going and then you realize that it wasn’t even close to being sharp? That said, sharpness isn’t the most important thing to many photographers and sharpening should only be undertaken when you actually want a sharp shot (obviously!) So let’s tackle those sharpening sliders in Lightroom.
 {The Sliders}
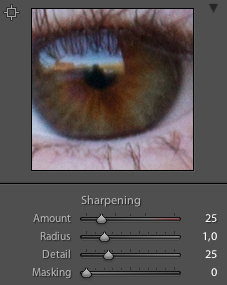
Amount – The amount slider is the most obvious of sliders. It controls how much and is your fine tuning tool.
Radius – Controls how far outside the edges to apply the sharpening. For example, a setting of 1 means it will spread 1 pixel outside of the areas LR perceives to be your edges. A setting of 3 will spread three pixels outside of your edges, but be careful. A setting of 1 will be fine for most images.
Detail – The detail slider controls how much high frequency information is sharpened. Basically, the lower values sharpen the edges to remove blur and the higher you go up the slider, the more useful you will find it to make textures more pronounced.
Masking – This is the last slider on the sharpening panel. It controls an edge mask as you’re sharpening. With a setting of 0, everything in the image receives the same amount of sharpening. As you move up the slider, sharpening will become more and more restricted to near the strongest edges.
{The Shortcuts}
Each of the sliders can be slid while holding down the alt key to show you how the changes are affecting your image. For example, holding down the alt key while sliding the amount slider will make your image appear in greyscale while you’re sliding. This is to remove any distraction from colors so you can clearly see the changes.

The screen shot you see to the right (click to view in full size) shows the results of holding down the alt key while moving the masking slider to show you what is being sharpened in your image. The gray & white areas are the areas being sharpened.
So you see, Lightroom is a very deep and powerful editing program for your photography. Enjoy!


Some Older Comments