These days, most kit lenses on consumer DSLRs are wide-angle. 18mm on an APS-C sensor camera (or 27mm in old 35mm speak) is wide enough for most occasions. Ultra-wide angle lenses are those that are shorter than 16mm in focal length. It is here that we’ll strike new creative possibilities and new obstacles.
On cropped sensor lenses, a 30-35mm focal length provides what we call a ‘normal’ Field of View, which is roughly equivalent to what the human eye takes in. At 18mm, the Field of View is almost twice as wide and you can cram lots of things into the frame. At 12mm, you get 50% more FOV again, and now we’re a long way from ‘normal’ – you amost have to turn your head to take in all the detail.
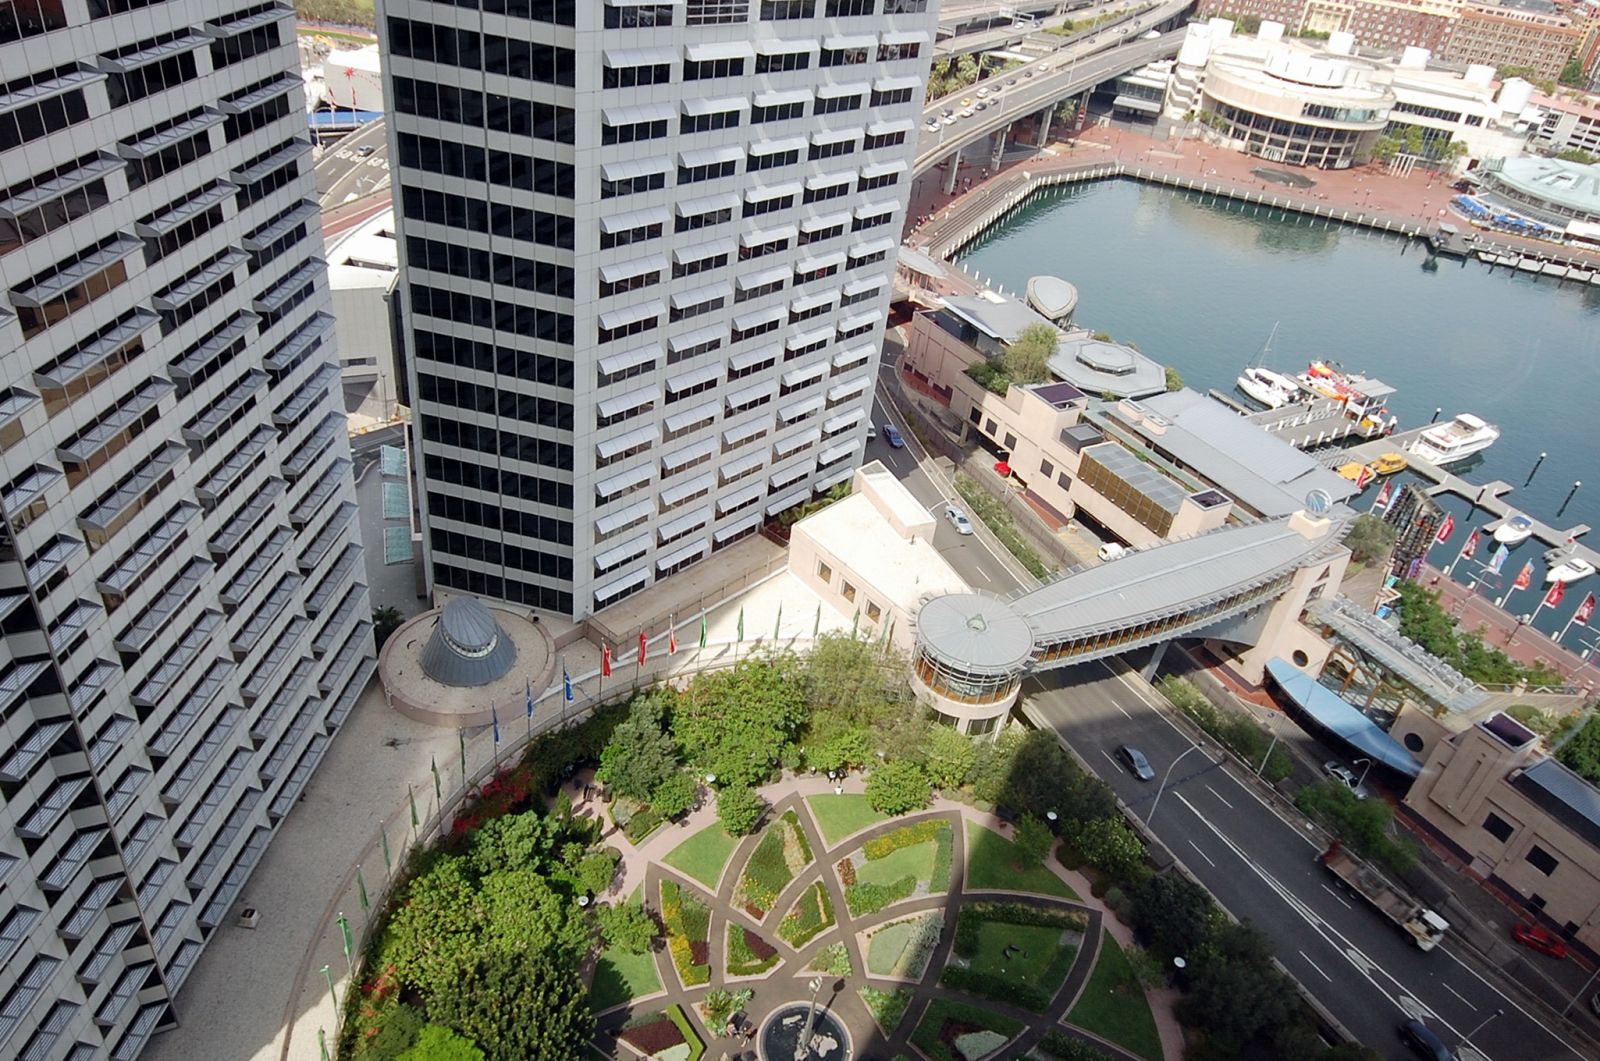
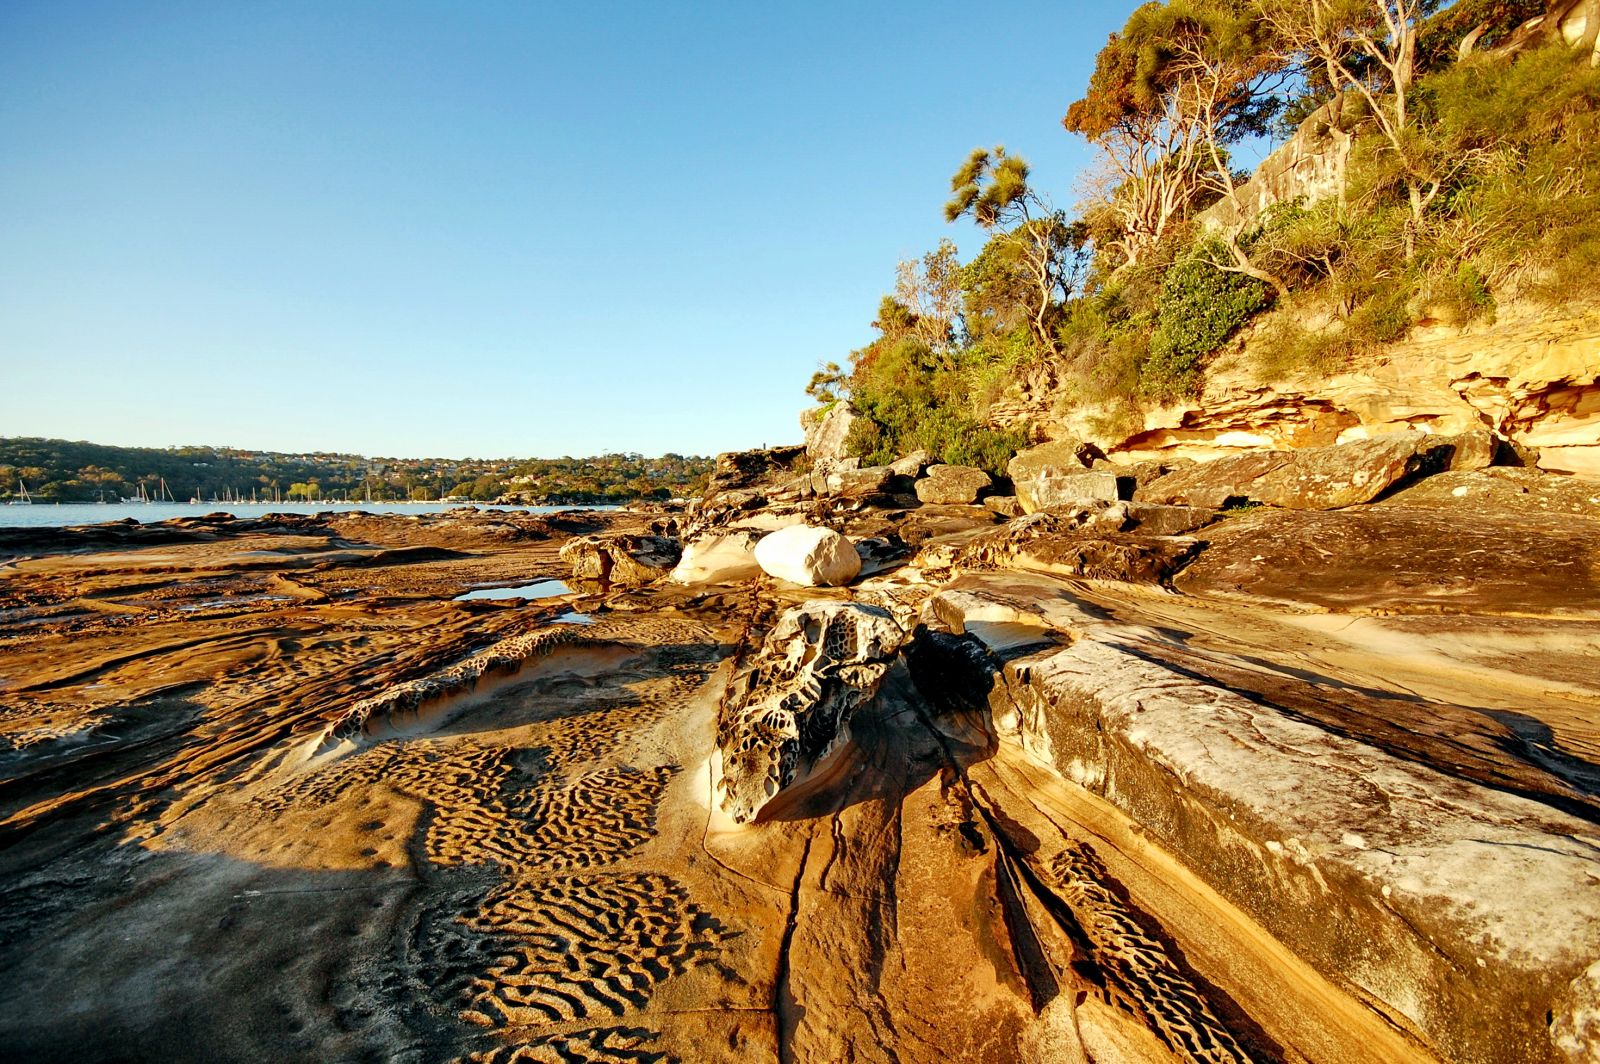
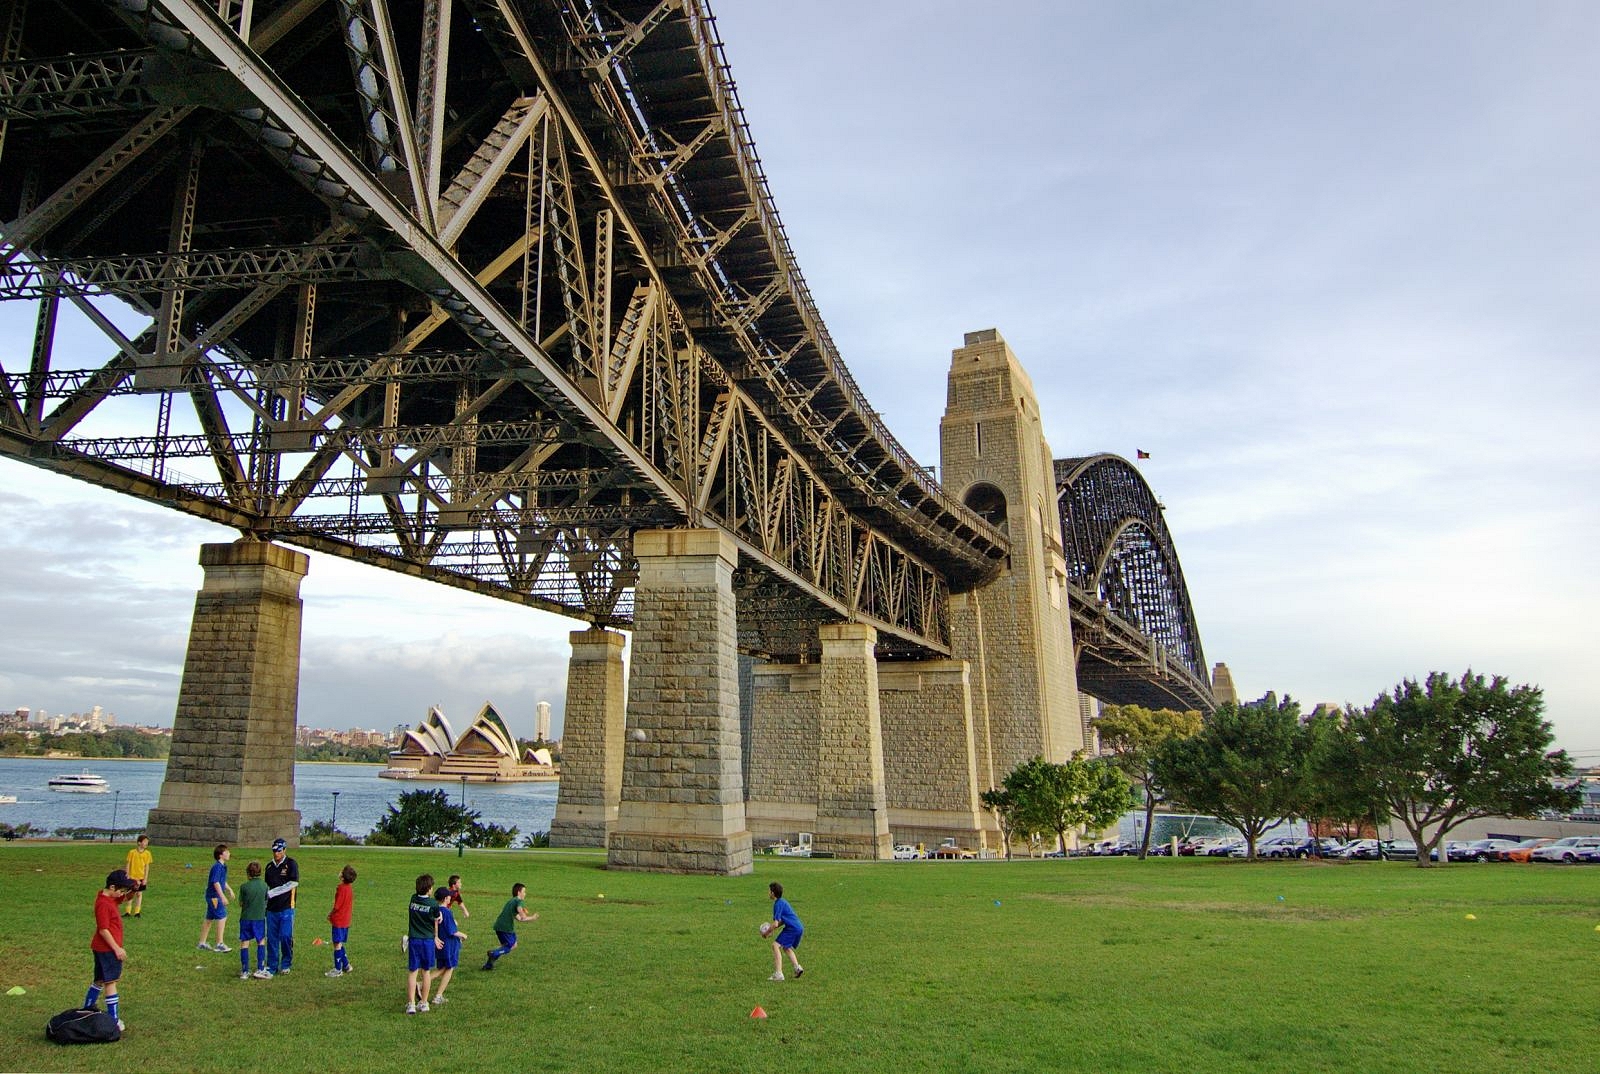
The first thing you notice is the exaggerated perspective, the distorted edges and relationships between foreground and background objects that are ‘stretched’, sometimes unnaturally. Wide-angle scenes can contain many objects at different distances, which helps to draws the viewer into the scene.
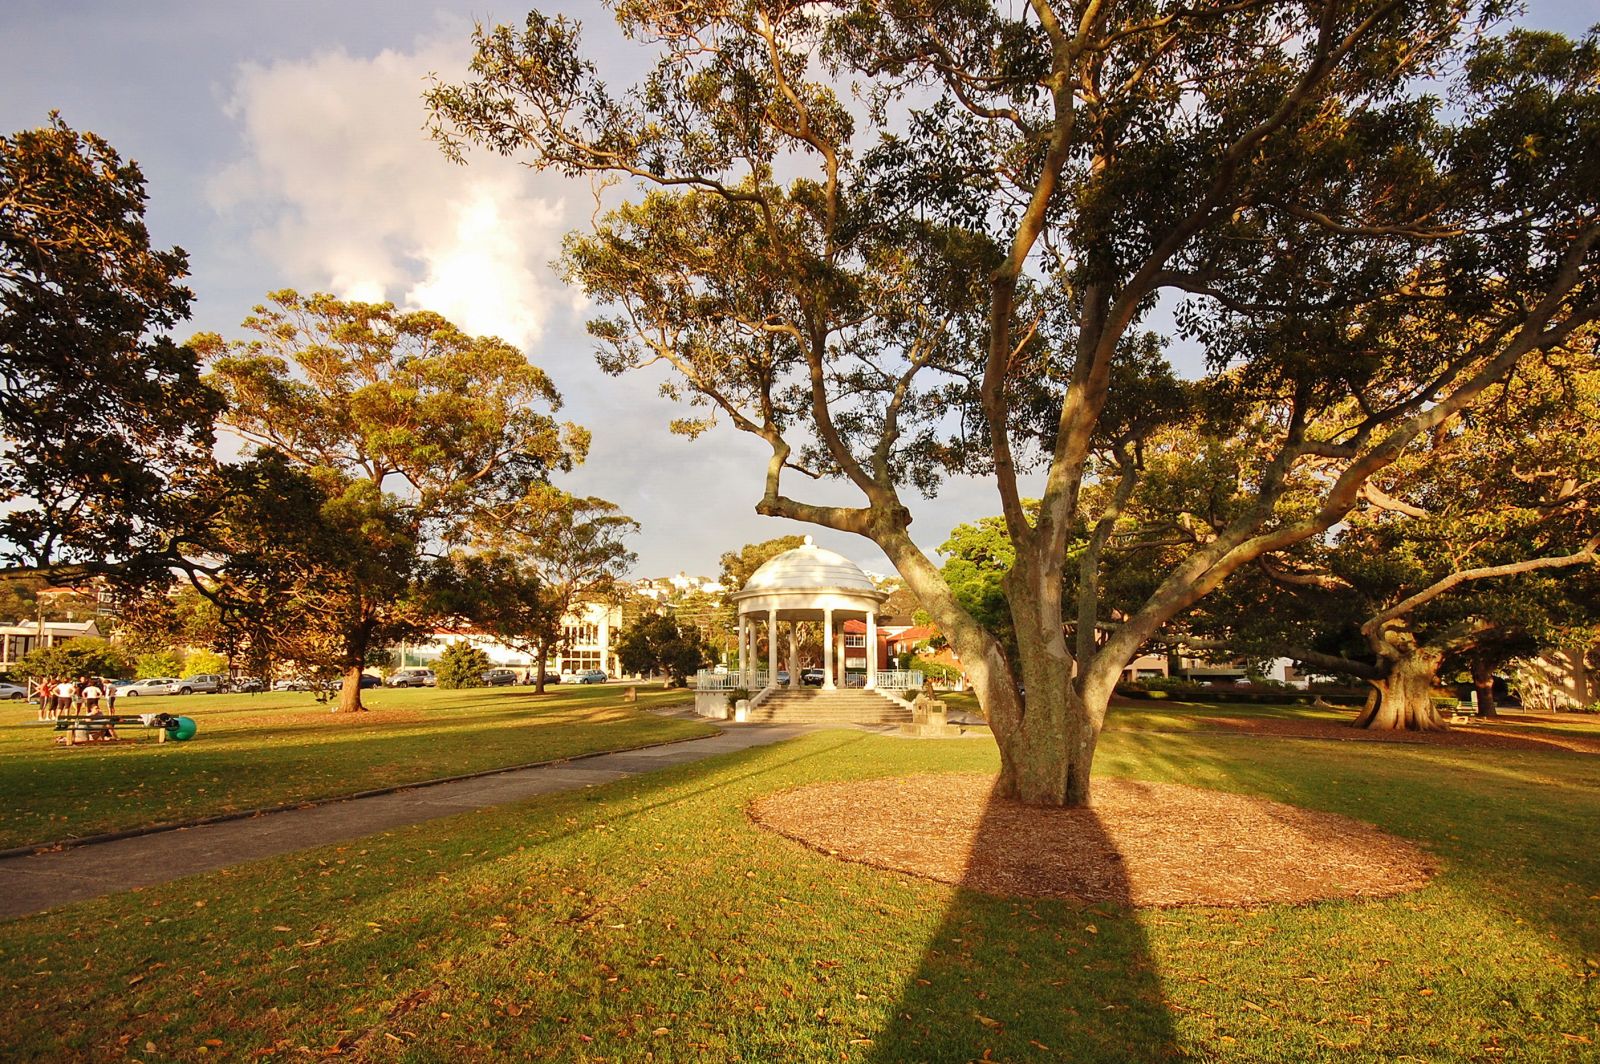
There’s plenty of drama in trees and clouds, which are normally innocuous, and there is plenty of distortion as well. With wide-angle lenses, you’ll get a lot of things into the frame, some dark, others light, some near, others far, and all these contrasts push the dynamic range of your DSLR to the limit.
You’ll also get a different perspective from other lenses. As a rule, you’ll find yourself moving much closer to the subject, stepping right into the scene. Think of ultra-wide lenses as the opposite of tele lenses where you tend to back away from objects. Tele lenses tend to flatten depth of field, ultra-wide lenses exaggerate it. This makes background objects appear further from foreground ones than they actually are.
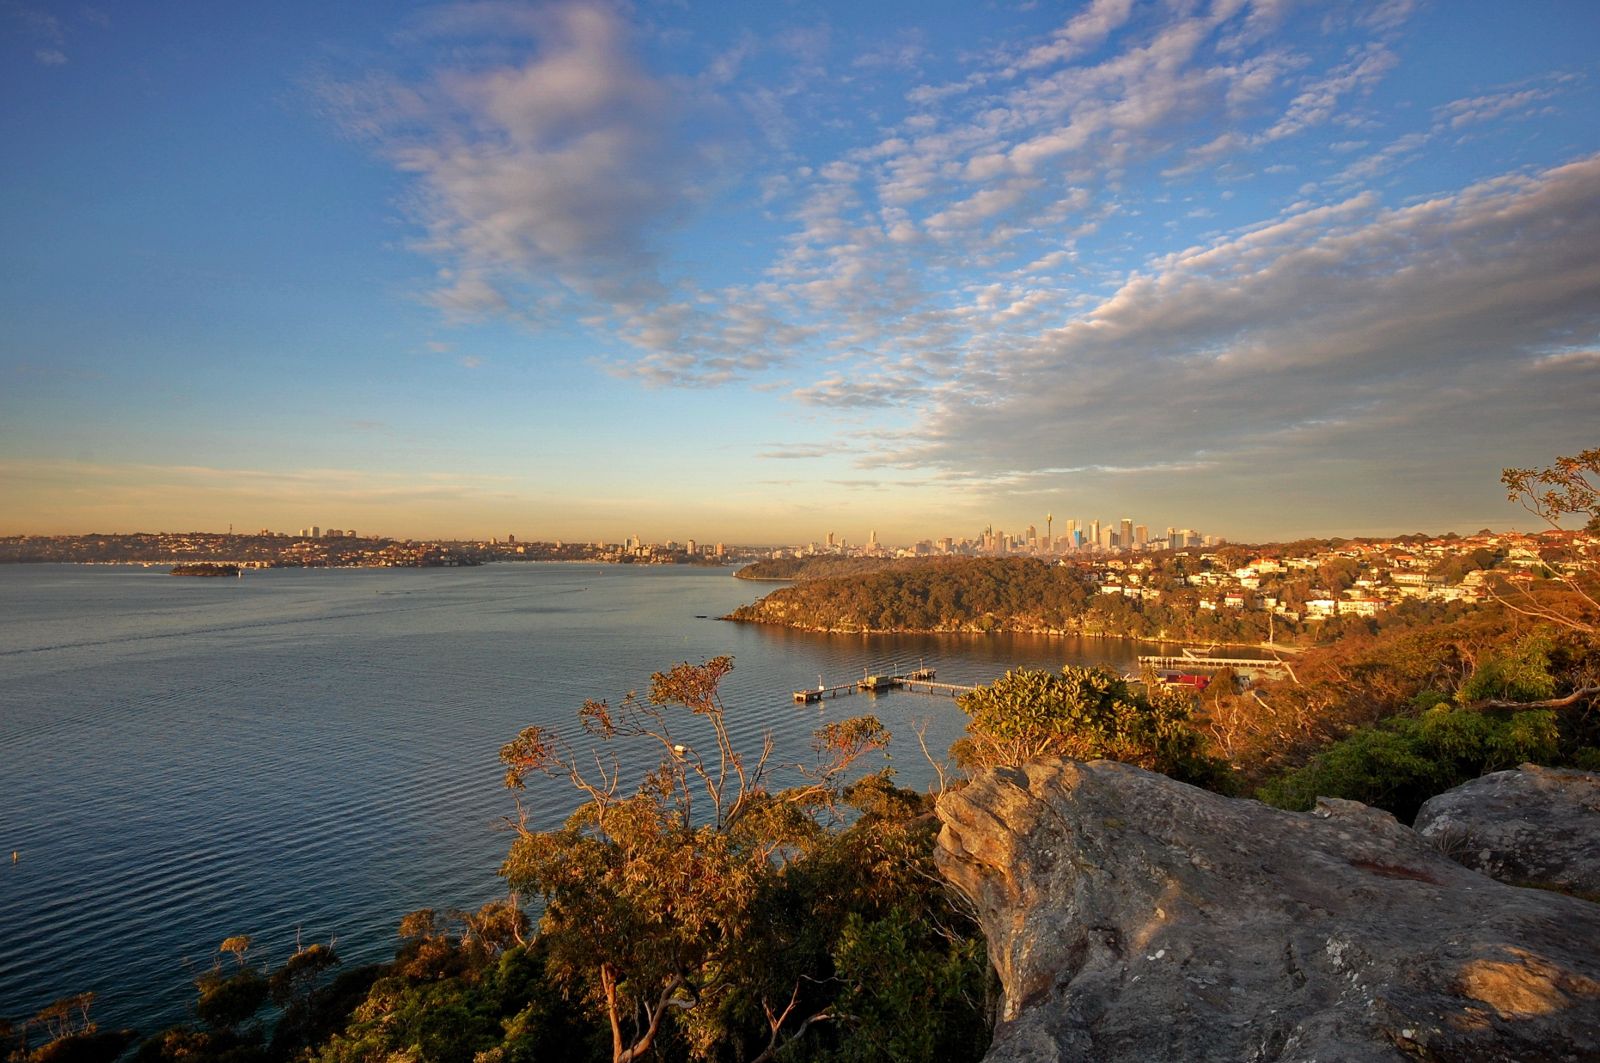
If your camera is even slightly out of the horizontal, verticals will converge. Buildings will develop leans, which adds a sense of drama to otherwise dull scenes like this one:
Sometimes you don’t want this effect, and then it’s best to make sure the horizon is in the centre of the image. You can correct perspective distortions in post-processing but you’ll end up with much smaller images by the time the edges are chopped off.
Because of the exaggerated DOF, sharpness across the whole image is often hard to achieve. Stopping down is the recommended answer but, even at f/11 or f/13, front to back sharpness at 10 or 12mm can remain elusive. In practice, you need to decide on where to focus – infinity, which will make the foreground go slightly soft, or vice versa, which will make infinity go that way. And you need to experiment with aperture to see what works best for your lens and camera.
On ultra-wide lenses, the auto-focus also faces new challenges since objects just a few meters away can be quite small and hard for the AF to lock onto. Beyond the first few meters, ultra-wide lenses tend to take a guess at focus, and that doesn’t help with sharpness – manual focus can often be a better way to go. The main thing is to decide on the visual centre, and focus on that.
Flare is a real pain with ultra-wide lenses, blowing out highlights with little provocation. The broad field of view means you often have a source of bright light not far from the frame, and that’s enough to do the damage. The best times to use these lenses are the magic hours of early morning and late afternoon, outside, or middle of the day inside. They say ultra-wides do better in winter photography where snow cancels out the difference on brightness between sky and ground.
Enter the tripod
By now it’s pretty obvious that point-and-shoot is the wrong technique for ultra-wide photography. Shooting early or late in the day, or inside, and stopping down to f/11 or more, means using a tripod. Add manual focusing and we’re back in the good old days of carefully composing each shot, following a set of rules. Not a bad idea for landscape and architecture photography, but not practical for action or street photography.
When photographing architecture, contrast is more important than resolution, and here it’s important to find and focus on the point on which all those straight lines converge.
Ultra-wides don’t make good portrait lenses unless you’re looking for cartoon-like comic effects. In close-ups, you can get plenty of distortion that exaggerates the bits in the foreground, like noses and foreheads. Ultra-wides are useful though when you want to capture people in their environment, in a shop or office or artist studio, and want to show a lot of their surroundings. Perhaps a bit too much in this case:
I’m reminded here of a friend of a friend I paid a visit to in Nelspruit, South Africa, a faded blonde whose house was full of leopard patterns – leopard skin rugs, leopard cushions, leopard place mats and even leopard coffee cups. Sadly I didn’t have a camera with me, but clearly portraits like these can convey more about the person.
Ultra-wide lenses add drama to your images and can tell stories more forcefully since they exaggerate the perspective. Like good storytellers, they show us scenes in a way we hadn’t seen them before.
8 Rules for Generating Great Results from Ultra-Wide Lenses
Here’s a short list of the basic rules to observe:
- Include something(s) of interest in the foreground otherwise you will get vast expanses of nothing. In landscape this can mean going low to include foreground flowers for example or getting really close to rocks so that you can see the rock grain.
- Look for strong compositional lines as this will add drama to your shots. This happens naturally with wide lenses anyway so you are just working with the natural perspective of the lens.
- Look for interesting skies as ultra-wides capture wide expanses of sky and emphasis the lines in the cloud formations.
- Try to keep the camera as level as possible when photographing buildings.
- A polarising filter in clear weather can add more colour, and Neutral Density graduation filters can add a lift in cloudy weather.
- Move in close: The closer you are to your subject, the more dramatic your images will be. Yes, I mean right up close and personal.
- Look out for your feet and other extraneous bits that might intrude, like legs of tripods, due to the much wider FOV
- Use a tripod for landscape shots
That’s about the size of it, or the angle. The rest is practice and experimenting to find out what works best for you and your equipment. That’s half the fun.
I’m indebted to the author of this series which provided some of the advice repeated here: http://www.prime-junta.net/pont/How_to/m_Mastering_Wide-Angle/m_Mastering_Wide-Angle.html?page=3
This article is also very useful, and a fair bit shorter
http://www.kenrockwell.com/tech/how-to-use-ultra-wide-lenses.htm


Some Older Comments