Last week I showed you how to use Lightroom’s Grid View. Once you have customised the Grid View to suit your needs, it is time to move on to the Loupe View. Getting there is easy. Just press the letter ‘E’ on your keyboard. This will take you to the Loupe View from anywhere in Lightroom. Alternatively, if you are in the Grid View, you can press the space bar.
On the surface, Loupe View looks simple. But there are a few things I’d like to show you that you may not be aware of. They are the ‘hidden features’ of Lightroom’s Loupe View, and will help you when you view your images, and assess their potential for creative processing.
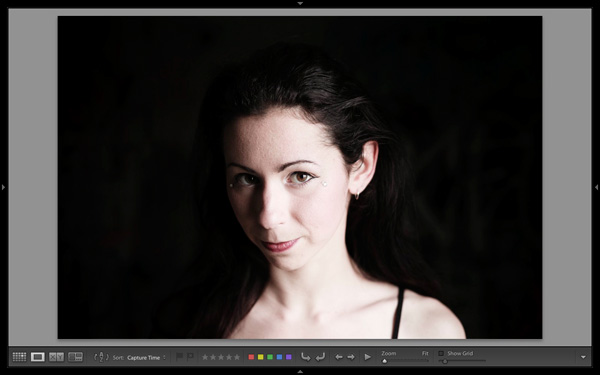
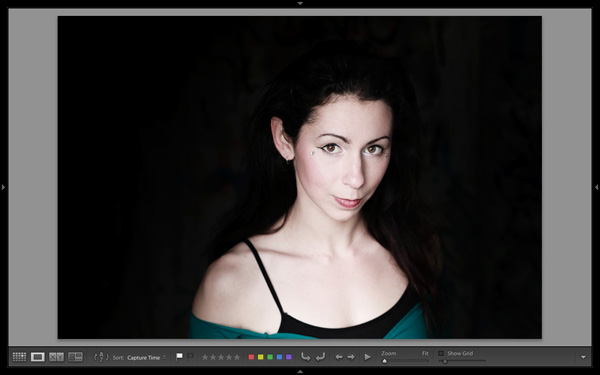
This is what the Loupe View looks like, with all four side panels removed (use the Shift+Tab keyboard shortcut to hide them from view).
The Loupe View is divided into two parts. The Content window (yellow) occupies the main part of the screen. The selected photo is displayed here.
The Toolbar (red) lies along the bottom. Press ‘T’ to reveal it if it isn’t there. The same key hides the Toolbar if you press it again.
The main difference between the Loupe View and the Grid View is that you can only view one image at a time in the Loupe View.
The hidden features
Of course, these features are not really hidden. But if you are not aware of them they may just as well be. They are all useful, so it’s worth taking a few minutes to learn how to use them.
Library view options
When you press the ‘I’ key on the keyboard Lightroom displays some information about the photo you are looking at in Loupe View. Press the ‘I’ key again and the information changes. Finally, press it once more to hide the information:
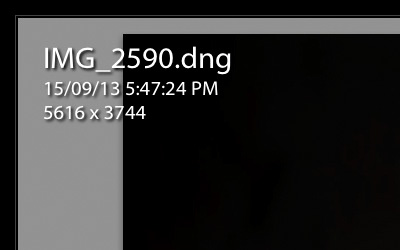
The first information overlay displays the filename, the time and date the photo was taken, and the image size (in pixels).
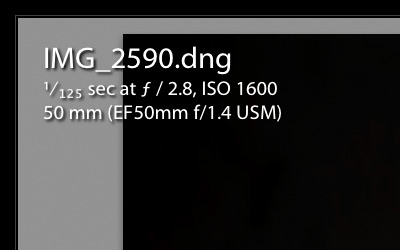
The second overlay shows the filename, the exposure settings (shutter speed, aperture and ISO) and the focal length and lens used. This is handy for checking the camera settings when you are viewing your images.
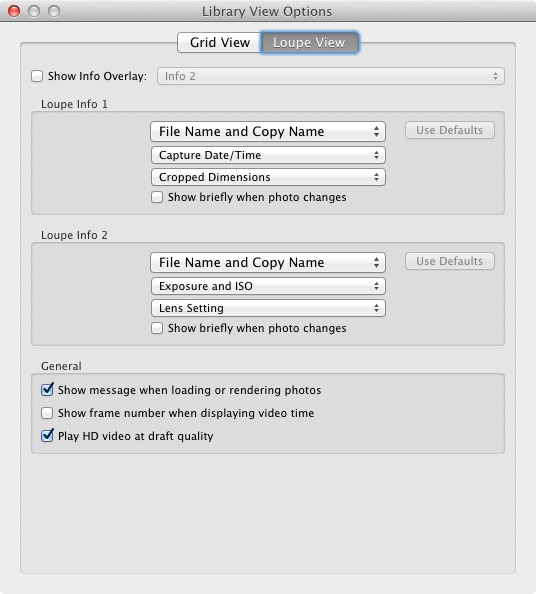
Here’s the hidden feature: Did you know you can customise the information overlays to display the information that you want them to? Go to View > View Options to bring up the Library View Options window. Here you can tell Lightroom which information to display in each information overlay:
Mirror image mode
Wondering how your photo would look if it was back to front? Just go to View > Enable Mirror Image Mode to see:
Grids and guides
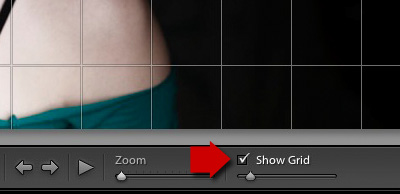
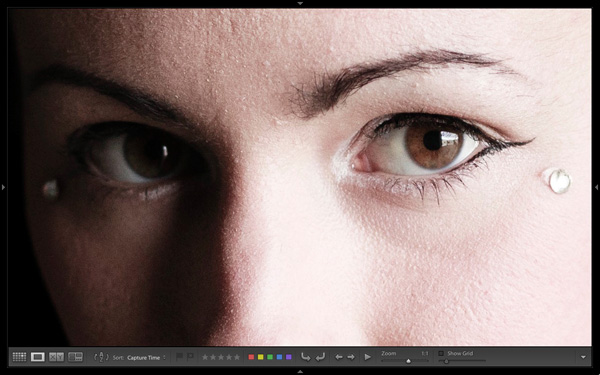
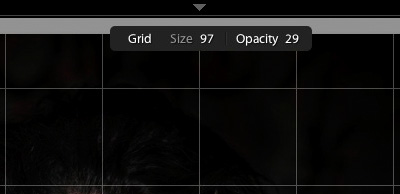
To reveal the grids and guides, tick the Show Grid box in the Toolbar. Use the slider to set the size of the squares. If you hold the Cmd key down (PC owners should use the Ctrl key) you can also alter the size of the grid and the opacity of the lines by mousing over the Size and Opacity settings displayed at the top:
Note: If you don’t see the Show Grid box, click on the white arrow on the right hand side of the Toolbar and select Grid Overlay from the menu. Lightroom removes any unticked options in this menu from the Toolbar.
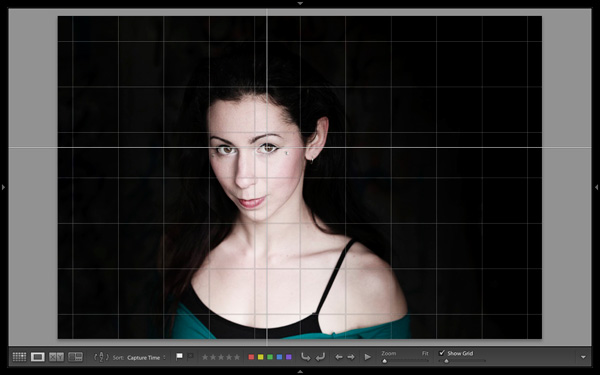
Next, go to View > Loupe Overlay and select the Guides option. This turns the central horizontal and vertical grid lines into guides that you can move by holding down the Cmd (Mac) or Ctrl (PC) keys. They come in useful for checking things like the straightness of horizons and buildings.

Untick the Show Grid box to see the Guides by themselves.
The Loupe Overlay
The final hidden feature is something that is more likely to interest professional photographers than hobbyists. But it comes in handy as a creative exercise if you have any interest in submitting images to stock libraries or to magazines.
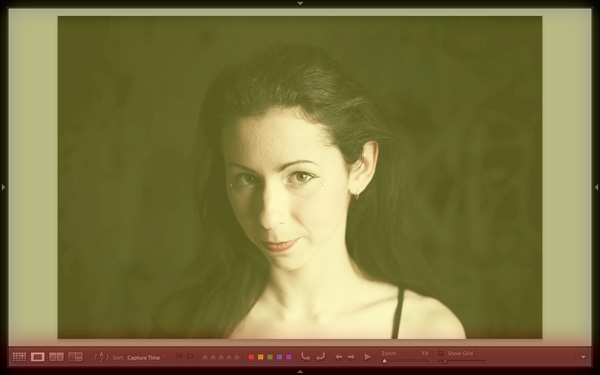
When buying images for editorial use, magazines often look for photos with empty space where they can lay out headings or text. The Loupe Overlay feature lets you display an overlay containing text over the top of your image so you can see whether the composition of your image provides enough space. While pros can obtain an official file from their client, there’s nothing to stop you making up your own.
Go to View > Loupe Overlay > Layout Image. Navigate to the folder containing your overlay and open it. The file must be saved as a PNG file, which supports transparency.
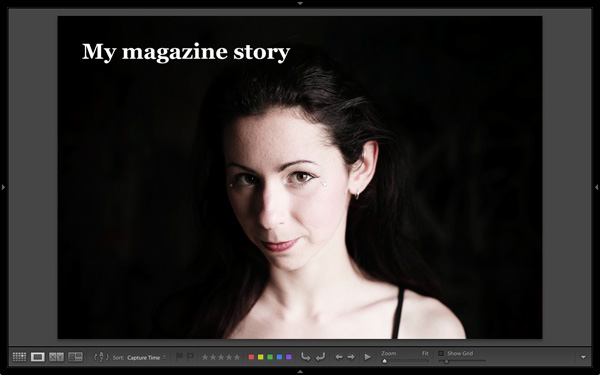
In this example, you can see that the portrait isn’t composed in a way that works with the sample text. It would have been better if the model was further to the right in the frame.
Mastering Lightroom Book One: The Library Module
My latest ebook Mastering Lightroom Book One: The Library Module is a complete guide to using Lightroom’s Library module to import, organise and search your photo files. You’ll learn how to tame your growing photo collection using Collections and Collection Sets, and how to save time so you can spend more time in the Develop module processing your photos.

